
Who doesn’t love freshly baked chocolate-chip cookies? The answer is no-one. Soft and chewy versus thin and crispy though? Now that’s where it gets tricky. I did a survey on my Instagram story a few weeks ago and the verdict is in: most people lean towards soft and chewy but there are some die hard thin-and-crispy lovers out there!
I’m a thin cookie lover myself, but they have to be home-made! No store-bought cookies for me! I luh me some crispy edges, but I also enjoy a soft and chewy center. Who says you can’t have it all?
This is where my Best of Both Worlds Chocolate Chip Cookie Recipe comes in! If these don’t leave you satisfied then the only tough cookie I see is you!
Let’s get baking!
Here’s a shot of the key ingredients. Trust me, this recipe didn’t come together overnight! I had a few failed batches, but eventually I got it right! Once I got it right, I tested it a few more times. And you thought writing recipes was easy?
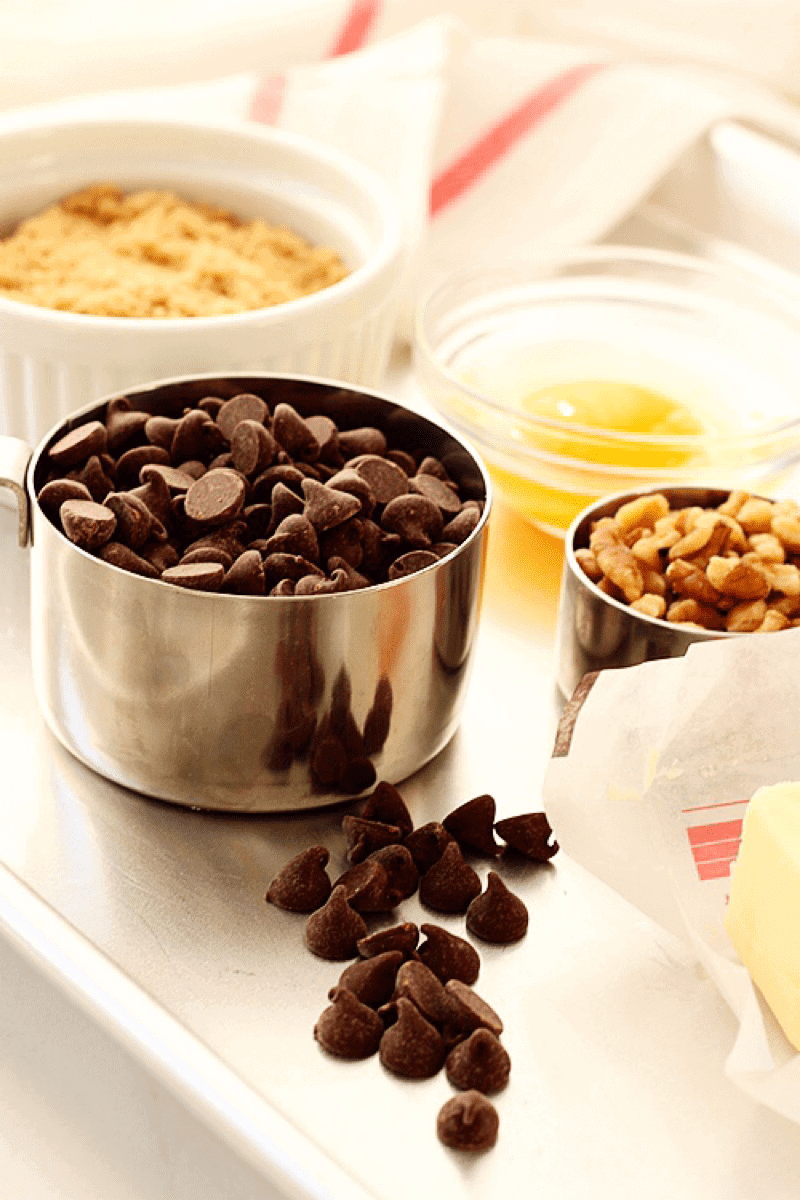
The key ingredients are:
All-purpose flour, a teaspoon of baking soda, unsalted butter, 1 egg, semi-sweet chocolate chips (duh), a few tablespoons of milk, and a mix of granulated and brown sugar.
One thing to note about sugar. Different sugars yield different results. Softer, chewier cookies are usually made with brown sugar. Granulated white sugar yields crispier cookies because of the way that the granules crystallize. So if I want a mix of soft/crispy then I need a mix of brown/granulated. Got it?
Next! Why baking soda and not baking powder?
Simple. Baking powder = rise and baking soda = spread.
If you want wide, thin cookies, then you’re gonna need to use an agent that will help these cookies spread. That’s when baking soda becomes your friend.
For even more spread, I use 2-3 tablespoons of milk. You don’t want to use too much milk though! We’re not making chocolate-chip pancakes! Stick to the recipe below, and you’ll be fine!
Optional ingredient: walnuts! I swear, I just don’t understand you people who don’t like nuts! No real shade though, some of the people I love most are nut-haters. It’s all love! Skip them if you wish!
Tips and technique:
Despite what you’ve been told. It’s ok to sweat this technique. Just a few tips to guide you:
1. Melt your butter first.
Anytime I bake anything with eggs in it, I want to make sure that the other ingredients aren’t hot! This is why I melt and cool my butter first!
2. Put that electric or stand mixer away!
You won’t need it for these. A rubber spatula is ideal but a wooden spoon also works.
3. Mix your flour, salt and baking powder together first.
I know, I didn’t want to hear this one either. One extra bowl to wash! But you want to make sure that these ingredients are evenly combined for best results. Will you die, if you don’t pre-mix ahead of time? No. But we also want these cookies to bake evenly.
4. Leave enough space between cookies to allow for spread.
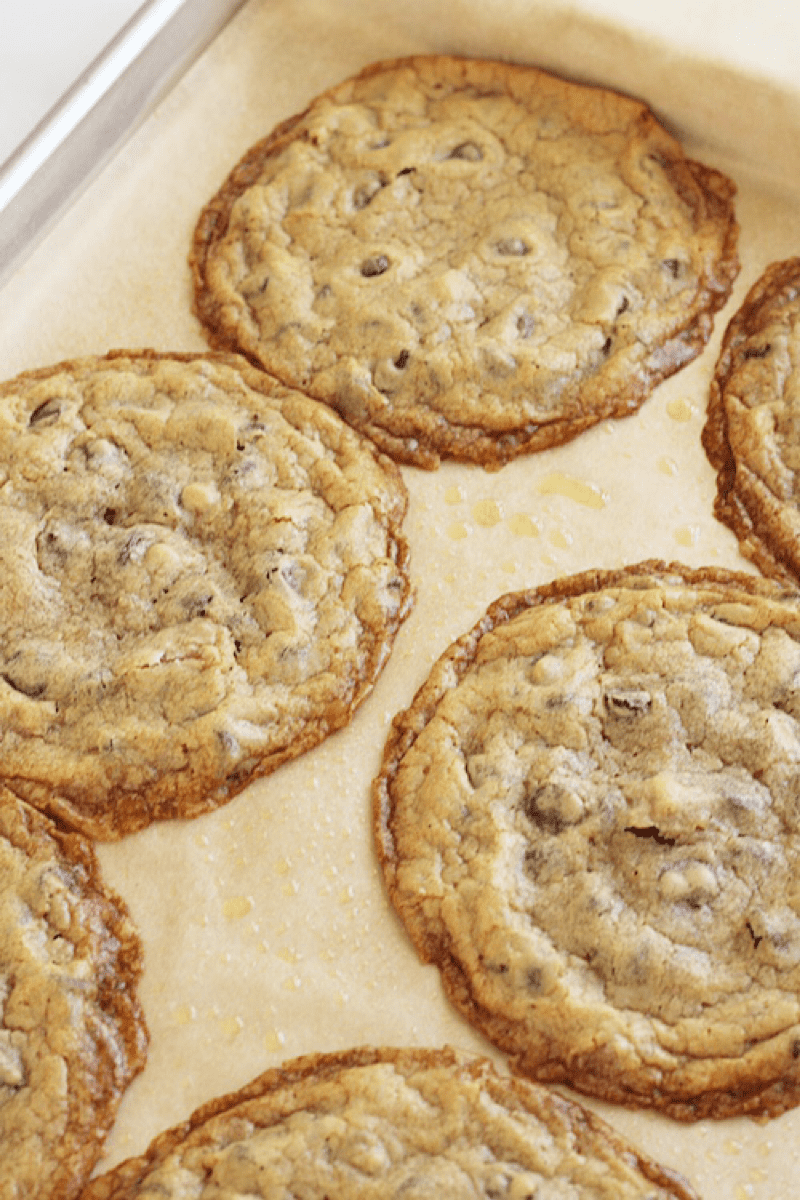
Believe, me these cookies will spread. I use two large baking sheets (6 cookies on each). Scroll down and you can see that mine still touch!
If you want less spread, use 2 tablespoons of milk rather than 3, or even less than that. Doing this and having good spacing will ensure that your cookies don’t touch each other!
5. Use a cookie-dough scoop if you have one!
As you can tell, I don’t have one, nor do I care if they’re not all the same size. I use a regular teaspoon, and try my best to eye-ball it instead. If you’re a stickler for uniform cookies, a cookie dough scoop is recommended.
6. Use your eyes to check for done-ness
Chocolate-chip cookies are little tricksters. It’s hard to tell if they’re done when you take them out of the oven. The last thing you want to rely on is your finger to check to see if they’re done. Cookies will always feel soft to the touch when they come out of the oven. Not to mention you’ll probably burn your finger and poke a hole in your cookie!
Looking at the color and the edges is a better indicator. Golden-brown center and caramelized edges are a good sign that your little babies are done!
7. Let them cool properly.
I know it can be very hard to not demolish these right out of the oven but please try to get a hold of yourself. Let them cool on the cookie sheet for at least 5 minutes.
They’ll be too soft to transfer when they come right of the oven, anyway. After 5 minutes you can transfer to a wire cooling rack or proceed with eating them at your own risk! Greedy butt.
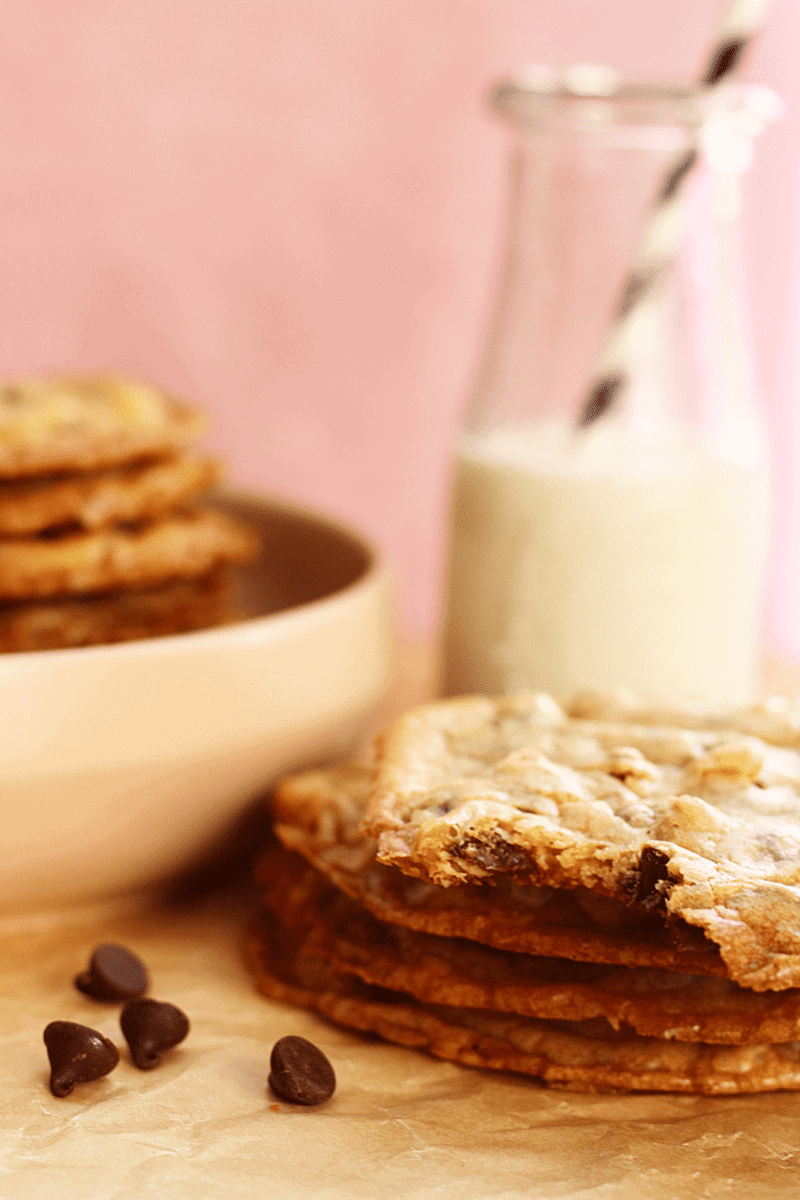
The end-result
These cookies are large and in charge, and look at how they stack!
Thin and crispy on the outside and nice and soft in the center is just how we like them! A perfect hybrid of thin and crispy, soft and chewy! I told you these Chocolate Chip Cookies really are the best of both worlds!
Other recipes you’ll love
‘The Best of Both Worlds’ Chocolate Chip Cookies
Ingredients
- 1 ⅓ cups all-purpose flour
- ⅓ cup granulated sugar
- ½ cup brown sugar
- ¼ cup butter, melted
- 3 tablespoons milk*
- 1 teaspoon baking soda
- ½ teaspoon salt
- 2 teaspoons vanilla extract
- 1 egg
- 1 cup semi-sweet chocolate chips
- ¼ cup chopped walnuts-optional
- Cooking spray
Instructions
- If you haven’t melted your butter already, do that now and let it cool.
- Pre-heat oven to 350 degrees F.
- Line 2 large baking sheets with parchment, spray the parchment with cooking spray and set aside.
- In a medium-sized bowl, combine the flour, baking soda and salt and set aside.
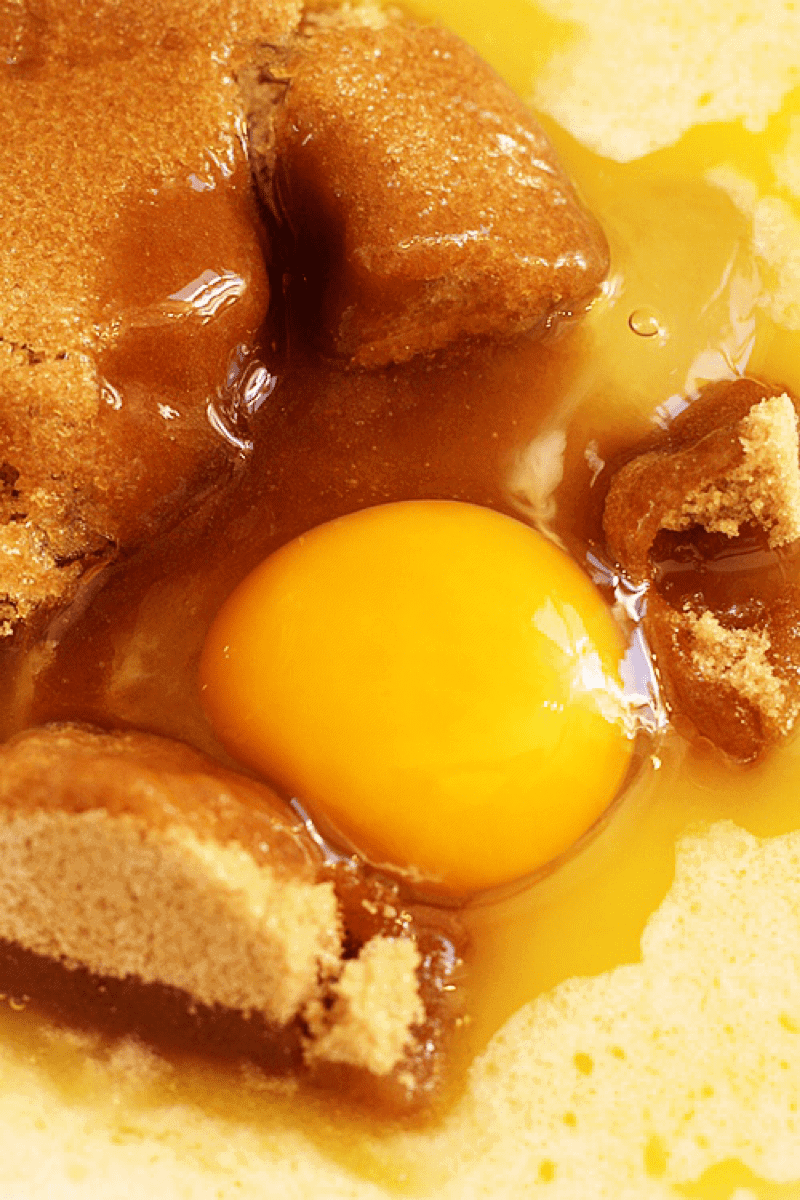
- In a separate large bowl, whisk the melted butter, egg, granulated sugar and brown sugar together until smooth. Add the vanilla extract, milk and continue to whisk until combined.
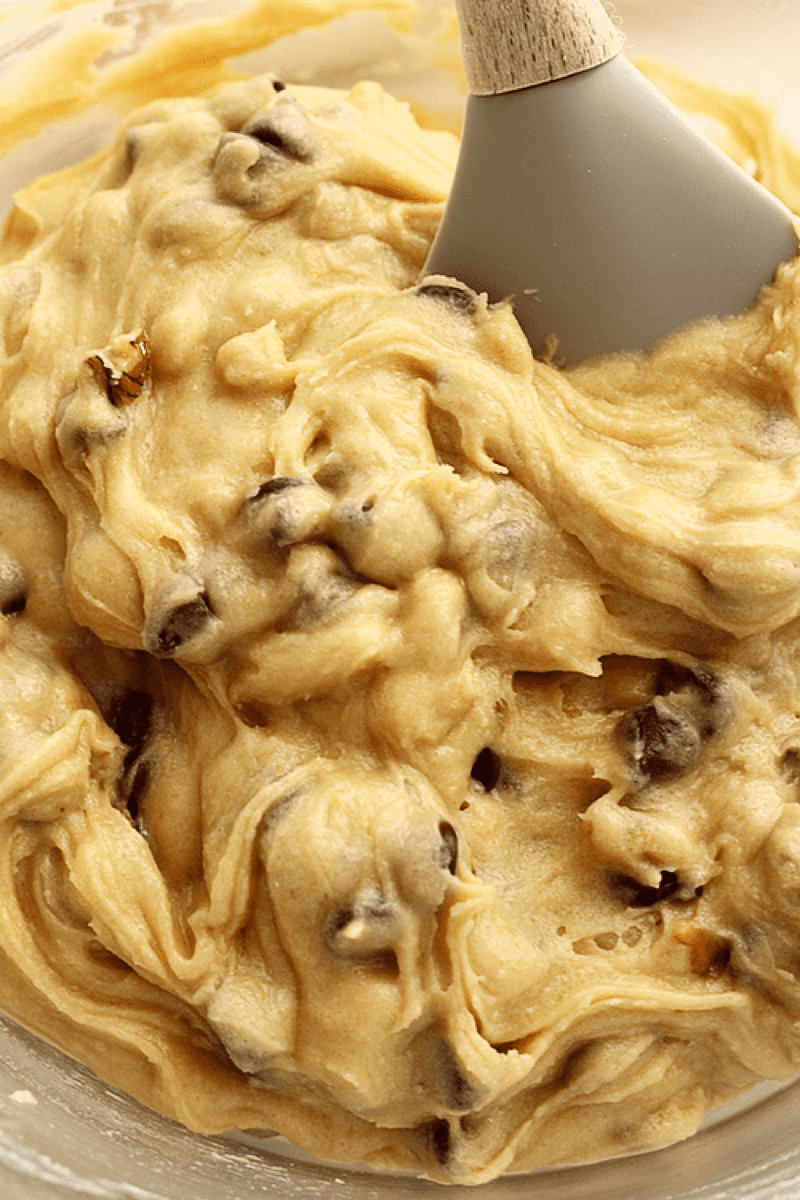
- Fold in the flour, baking soda, and salt mixture using a rubber spoon or spatula until the dough is an even consistency and there are no visible streaks of flour.
- Fold in the chocolate chips and walnuts (nuts are optional!).
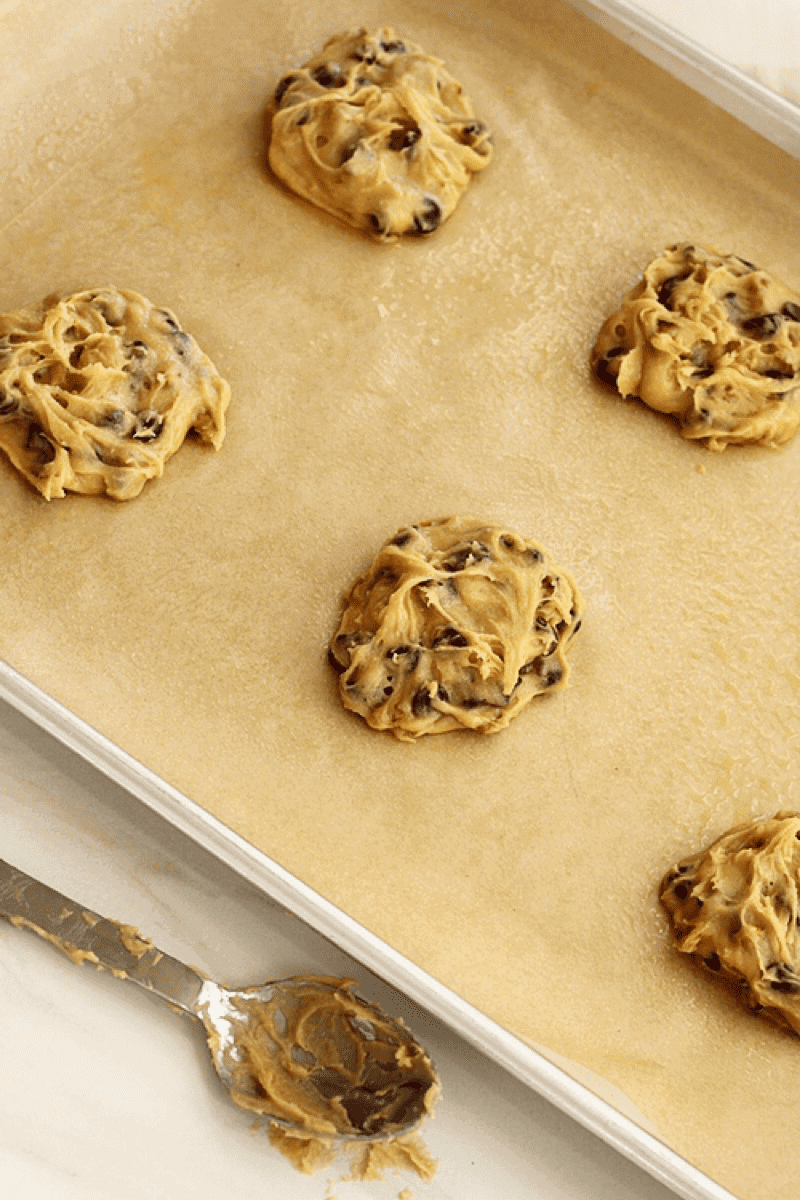
- Spoon the dough onto the parchment lined baking sheets using a teaspoon or cookie scoop. You want to create two rows of 3 (6 cookies per sheet). Make sure to leave enough space between the cookies to allow for spread.
- Place each baking sheet in the oven and bake for 13-15 minutes. Cookies should be golden-brown, and edges will be slightly darker and crispy.
- Let the cookies cool on the baking sheets for about 5 minutes. Transfer them to a wire rack to let them finish cooling.
Leave a Reply