
Onion rings, strings, things…give them all to me! Who doesn’t love some crispy fried onions though? I don’t know why, but until recently it never really dawned on me to make these at home. Why the heck not? Crispy fried onion strings are super-easy to make at home and only require basic ingredients! So whether you enjoy them as a snack or a topping, you’ve come to the right place!
What’s the difference between onion rings and onion strings?
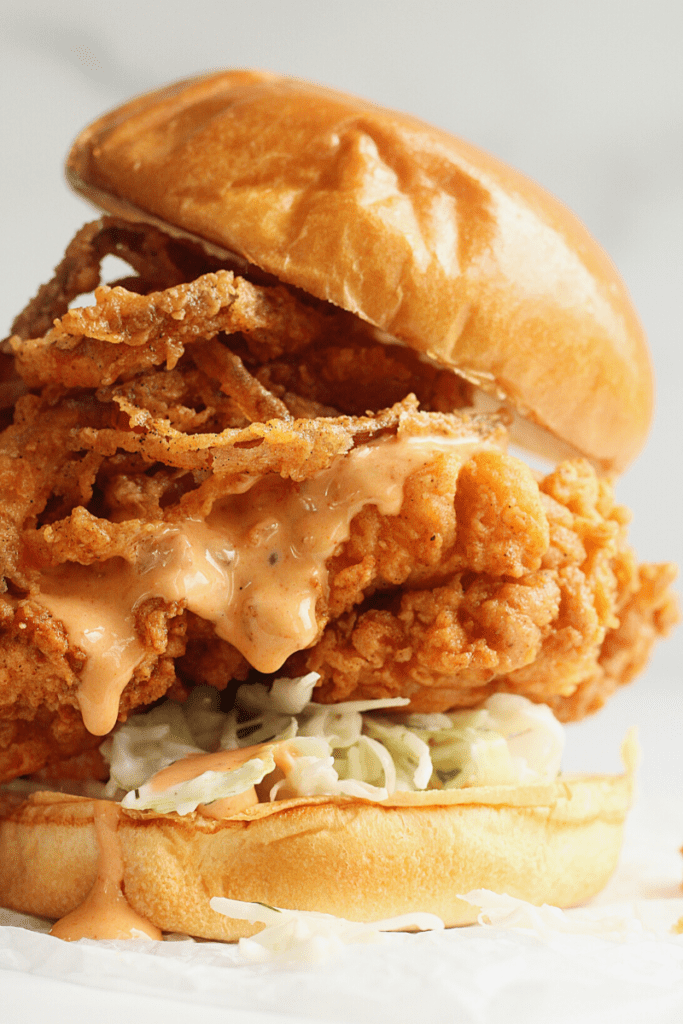
Not much really. Onion strings are sliced thin, and onion rings are on the thicker side. They’re essentially the same thing, but onion rings are usually eaten on their own while strings are commonly used as a topping on burgers, sandwiches and casseroles.
I’ve seen onion rings prepared a few different ways (i.e. beer battered, dredged in flour or coated in breadcrumbs), but I’ve only seen onion strings prepared by soaking them in buttermilk and dredging in flour. Onion strings are really thin so I don’t know that they would necessarily hold up to thick batter.
Safety first!
Honestly, I’m not the most coordinated person, so I just want to start off by saying be super-careful when you’re slicing these onions. I recommend using a mandoline that has a guard like this one.
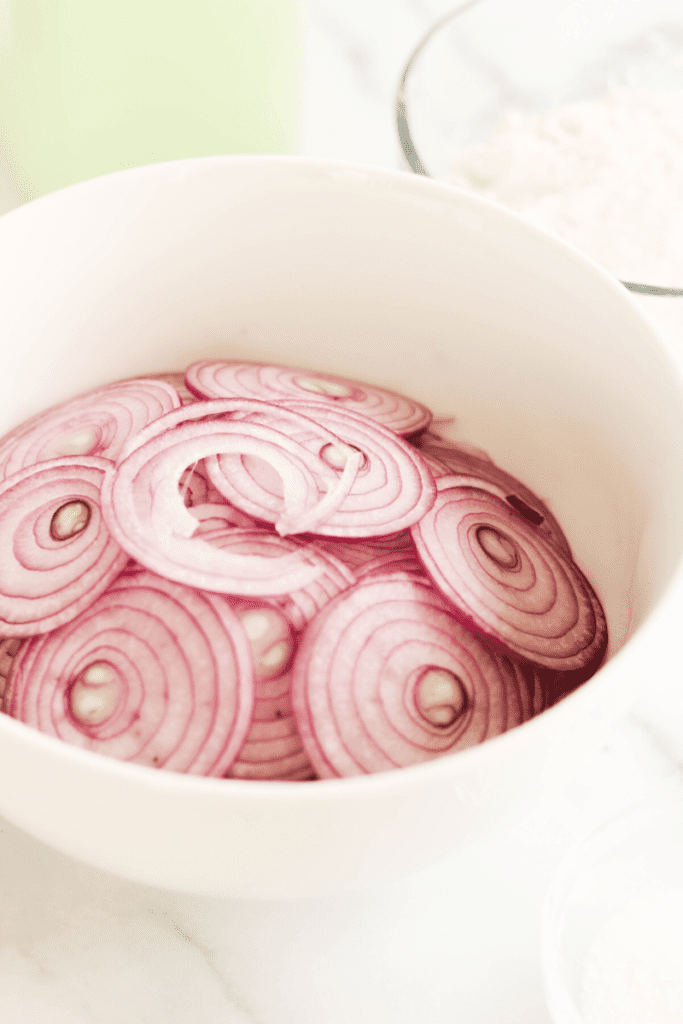
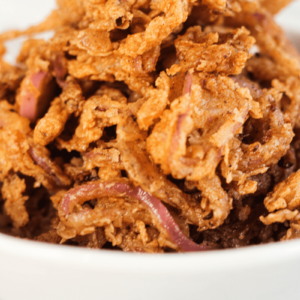
If you’re good a with knife you can slice them by hand. Remember, you’re slicing these super-thin, so be extra careful! For onion strings, you should aim for the same thickness as the photo below.
How easy is it to make Crispy Fried Onion Strings?
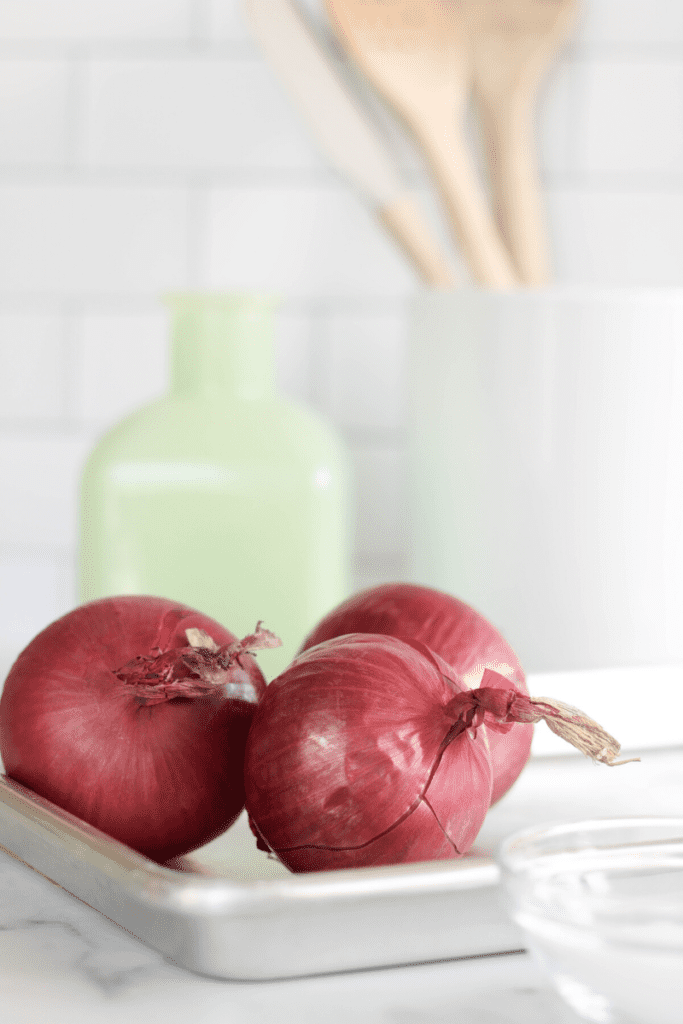
It’s really super-simple. You’ll need about 1-2 large onions (I like to use vidalia or red onions) and slice them very thin. Soak them in reduced-fat buttermilk for 1 hour, dredge them in seasoned flour and drop them in hot oil.
Here are a few pointers:
1. Make sure your oil is hot enough, but not too hot.
I usually heat my oil over a medium flame and test its readiness by dropping one dredged onion in to see what it does. If the onion starts to fizzle right away, that’s a good sign that your oil is ready. If it sinks to the bottom without fizzling, your oil needs to heat up a little more.
When your oil is too hot, you run the risk of burning the onion strings, so turn down that flame! As with any fried food that’s dredged in flour, there’ll be traces of flour left behind between batches. You don’t want this stuff to burn at the bottom of the pan so keep your flame on medium.
2. Separate the onions and soak them!
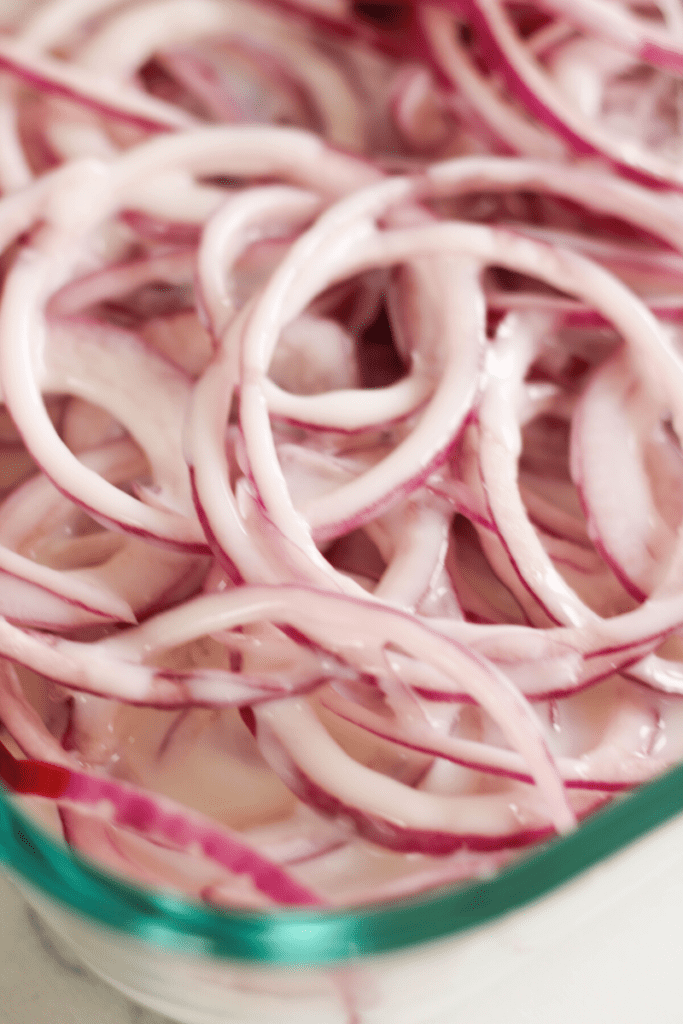
Make sure to separate the sliced onions before you soak them, so that the buttermilk penetrates each individual ring. After you separate the onions, place them in a shallow baking dish or ziploc bag, and cover them in buttermilk. Let them soak for at least 1 hour in the refrigerator.
I use reduced-fat buttermilk to soak the onions because it’s thicker than regular milk (which means the flour will bind to the onions better) but not quite as thick as full-fat buttermilk which can weigh your thinly-sliced onions down.
3. Shake off excess buttermilk and work in small batches.
This part is super-important because if your onions clump, your crispy fried onion strings won’t be so crispy. Work in small batches (a few onion strings at a time) and this will ensure that your strings get a dry, even coating. If your strings are wet before dropping them in oil it means they’re not dredged enough and they’ll get soggy. Ew.
4. Make sure they’re fully coated in flour, no wet spots!
This goes back to what I was saying above. If your strings look wet, that’s no bueno. Dredge them in enough flour so that they appear dry.
Some people say to shake off excess flour. A gentle tap against the side of the bowl is fine, but don’t shake off too much otherwise most of your flour will fall off! I get better results, and more coating on my strings when I don’t shake them off.
5. Work quickly!
Because the onions are thin and not coated in a thick batter, they’re going to fry up quickly! Watch them to make sure they don’t burn, and be ready to drop in another batch shortly after.
6. Spread them out in a single layer!
Another important step. Be sure not to pile the onion strings on top of each other when cooling. This will make them soggy. Arrange the strings in single layer on a cooling rack or paper towel-lined baking sheet.

What kind of oil should I use?
Any neutral oil with a high smoke-point is fine. Canola, vegetable and peanut oil are all great frying oils.
Can I use an air-fryer?
Honestly, I tried making these in the air fryer once and I really didn’t have good results. The onions got super crispy but they were dry and powdery (like the flour never cooked).
I don’t want to say that you can’t make onion strings in an air-fryer, I just didn’t have much success. If you’re an air-fryer master though, try your luck and tell me what you did!
Can I follow this same recipe to make onion rings?
This one’s a yes! Just cut the onions thicker, and fry them a few seconds longer. Onion rings are actually easier to make in my opinion because you don’t have to move as quickly!
Can I make these and store them for later?
Technically, yes you can. But for onion strings especially, I find them to be better when they’re fresh. That said, you can heat them in the oven on a baking sheet at about 400 degrees and they will crisp up again.
Onions rings are sliced thicker and re-heat a lot better!
Crispy Fried Onion Strings
Ingredients
- 1 large onion (red or Vidalia work best)
- 1 cup reduced-fat buttermilk
- 2 cups all-purpose flour
- 2 teaspoons kosher salt
- 2 teaspoons baking powder
- 2 teaspoons smoked paprika
- 2 teaspoons onion powder (optional)
- 2 teaspoons garlic powder
- ½ teaspoon black pepper
- Canola oil for frying
Instructions
- Slice the onions very thinly using a mandoline or slice them by hand, using a knife.
- Separate the onion layers and place them in a shallow baking dish or large ziploc bag. Pour the buttermilk over the onions and let them soak in the refrigerator for at least one hour.
- Whisk together the flour, dry seasonings, and baking powder in a large bowl.
- Working in very small batches, shake off just a few onions at a time and drop them into the flour, tossing until fully coated. Don’t flour too many at a time because you don’t want them to remain wet and stick together.
- Drop the onions into the oil as soon as you coat them in flour. Don’t shake off too much flour because you want the coating to stay on the onions.
- Let the onions fry for about 1 minute, they should be golden and crispy.
- Transfer the onion strings to a cooling rack or paper towel-lined baking sheet and arrange them in a single layer.
- Repeat the coating and frying process for the remaining batches of onions.
Travis says
These things have no business being so good! I was eating them as a side along with the ones ON my burger!