
I’ll be the first to admit that I’m not a super-huge fan of pizza, but I love, love, LOVE me some garlic knots made from home-made pizza dough! These garlic knots are soft, fluffy and delicious and smothered in a basil-infused, garlic butter. The best part about this garlic-knots recipe is that it doubles as pizza dough, if that’s your thing (no shade by the way).
A few things you should know about this garlic knots recipe:
- Garlic knots are pretty much the equivalent of bread-sticks and they make a great snack, side or appetizer!
- They’re usually made from left-over pizza dough but in my case I skip the pizza and use all of the dough for knots!
- Technically you could make them out of store-bought pizza dough (but what fun would that be?)
- And lastly, as much as I hate to be the one to tell you this, pizza dough in general takes a long time to rise, these garlic knots are no different. You need to allow about 2 hours for them to rise properly. The good news is this is still an easy recipe to make.
What you’ll need to make garlic knots:
- 4 and ½ cups of all-purpose flour
- 1 and ¾ cups of water
- ¼ cup of extra-virgin olive oil
- 1 packet of instant or active-dry yeast (I explain the difference below)
- 1 tablespoon of granulated sugar
- 2 teaspoons of salt
- 1 stick of salted butter + fresh leafy basil + garlic powder to make the Garlic-Basil Butter

Making the dough:
Step 1: Combine the dry ingredients by whisking together the flour, sugar, kosher salt and instant yeast in a large mixing bowl. If you’re using dry-active yeast, you’ll need to ‘proof’ it which means mixing it with warm water and letting it rest for 10-15 minutes so the yeast can activate.
The difference between ‘active-dry’ and instant yeast is simple. Instant use is ready to be used instantly, straight out of the package. Active-dry yeast needs to be activated in warm liquid (which is the process that I explained in the paragraph above this one).
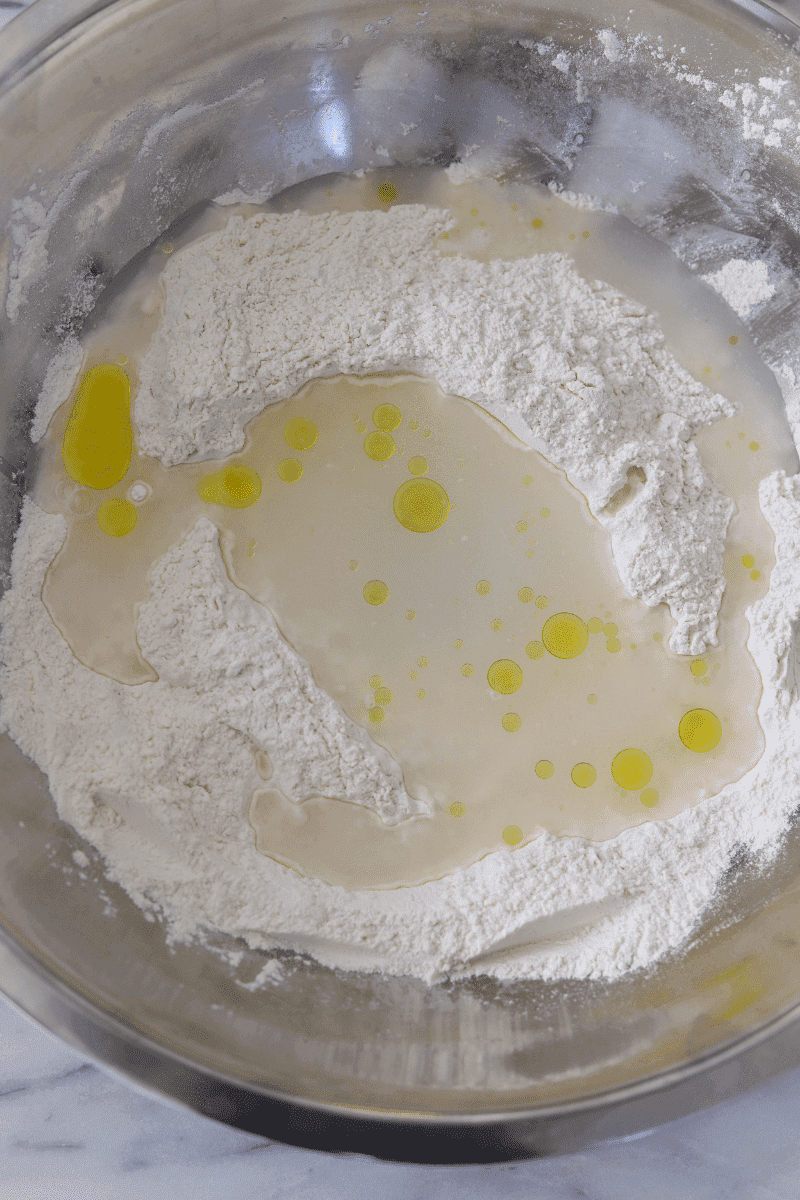
Step 2: Add the water and olive oil to the bowl with the dry ingredients. I like to create a well in the middle of the flour mixture and use a silicone spatula to fold the ingredients together. Once the dough starts to stick together, I’ll use my hands to form the dough into a ball. The dough should be slightly sticky, but not to the point where you can’t knead it.
Step 3: Transfer the ball of dough to a floured surface and knead by hand for 5 minutes. If you prefer, you can use a stand mixer with a dough hook to form and knead the dough if you would like.
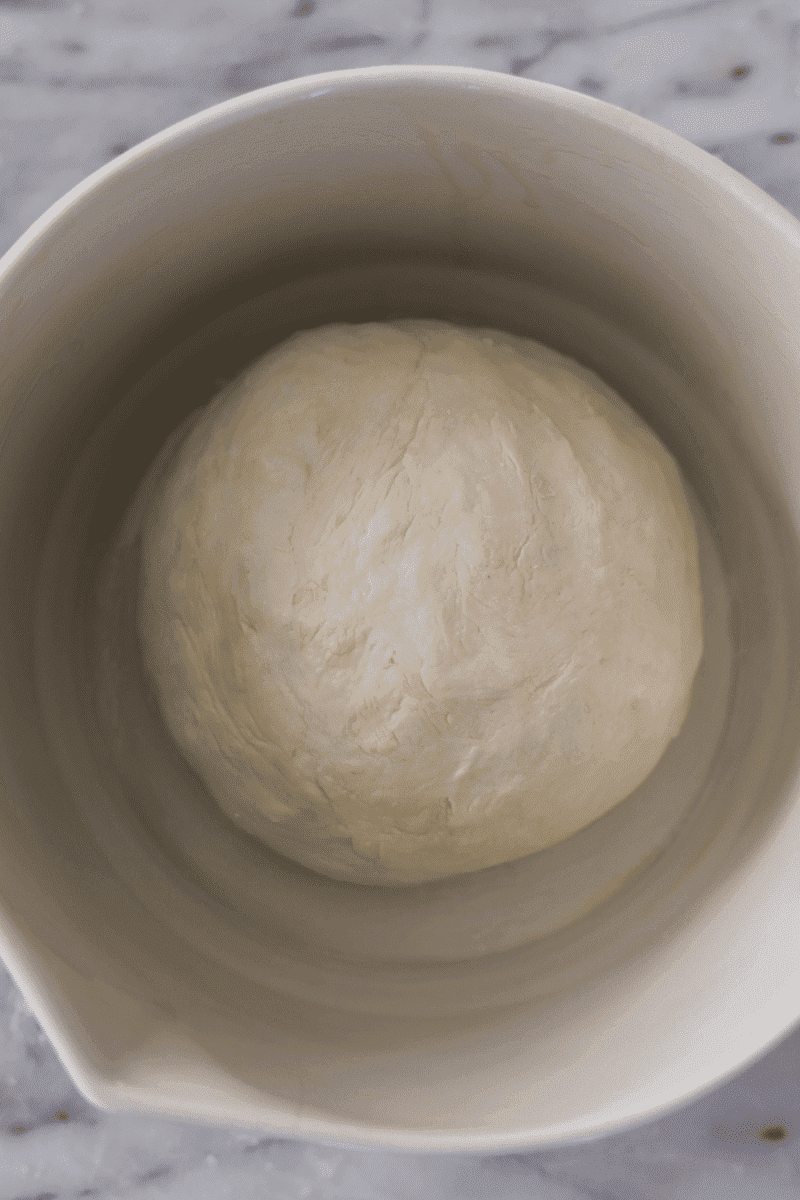
I personally find kneading dough by hand to be therapeutic. Form the kneaded dough into a ball, and place it in a clean, greased bowl. Cover the bowl with plastic wrap or a kitchen towel and put it in a warm place (like a sunny window).
Let the dough rise and then punch it!
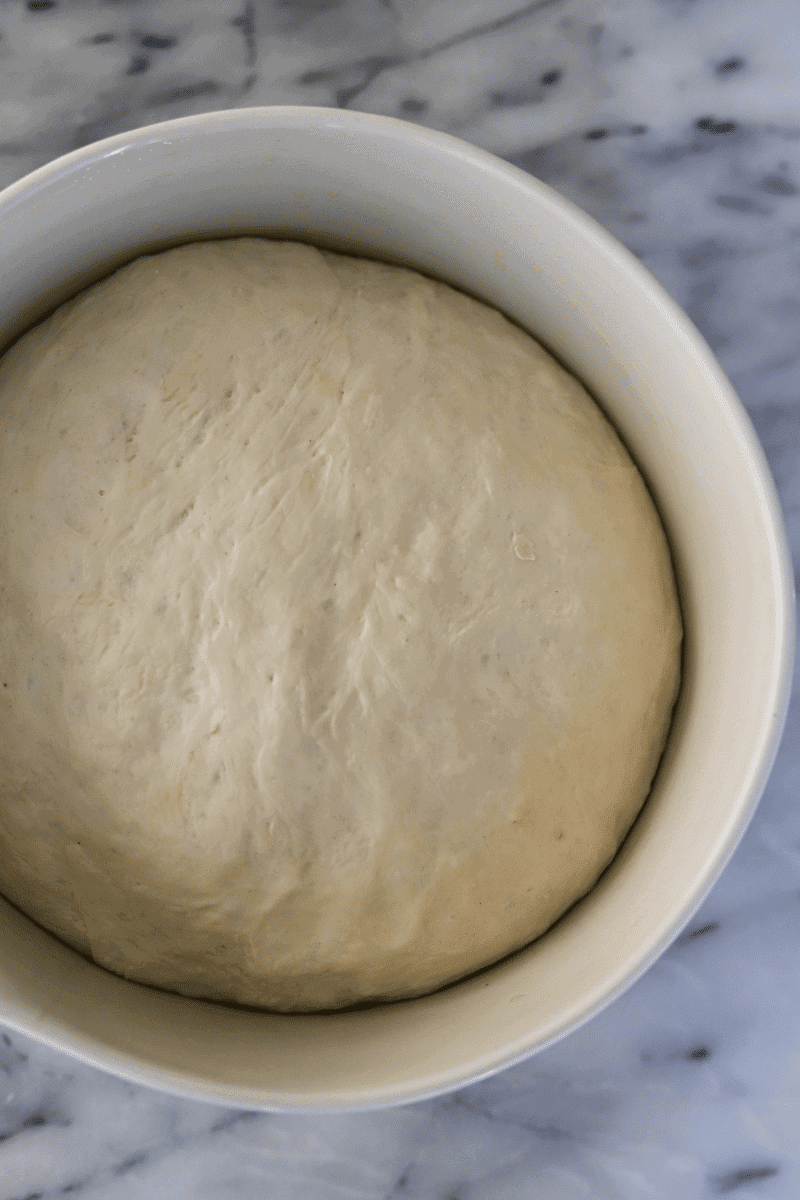
Step 4: Let the dough rest (covered) for a full hour and a half. Anything less and the dough won’t rise properly. No short-cuts! The dough should puff up and double in size by the time it’s finished rising. The photo below demonstrates properly-risen dough.
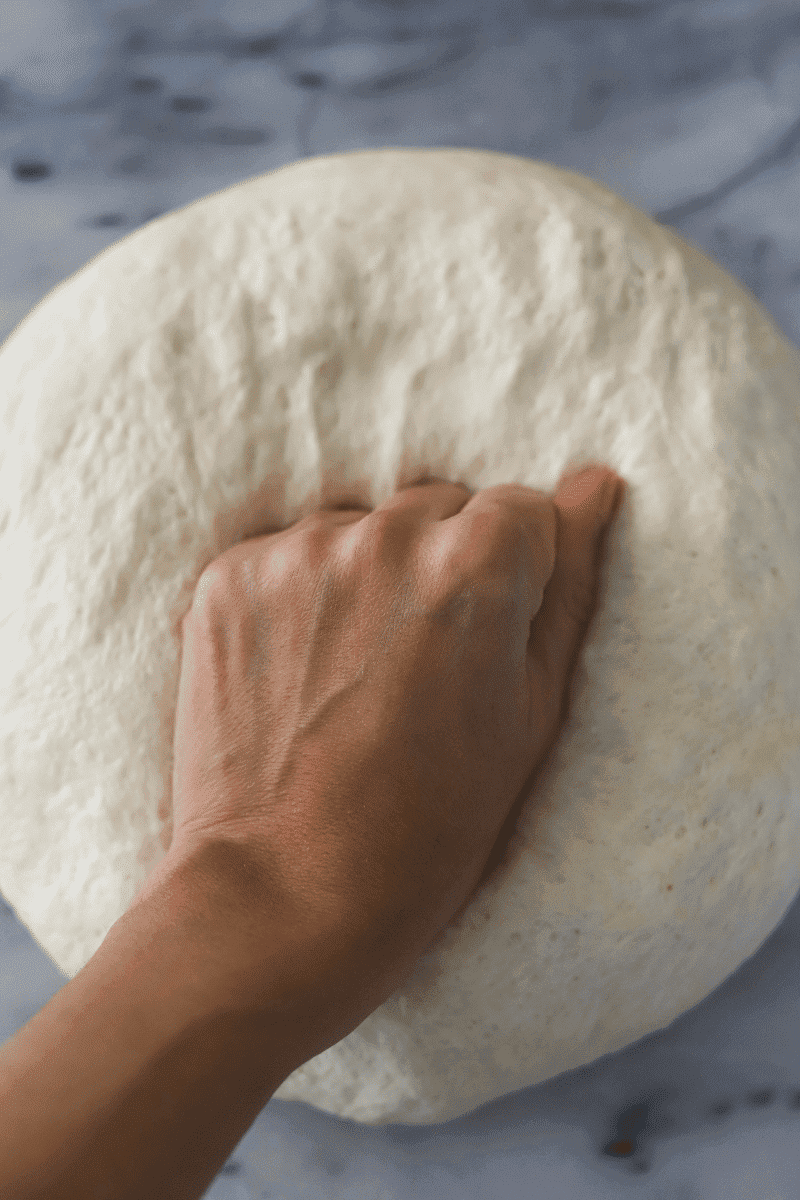
Step 5: Once the dough has risen fully, place it on a lightly floured surface and hit it with your fist or palm to release the air.
Form the Garlic knots and let them rise again
Step 6: Divide the dough in half using a pastry cutter or dough scraper. You can use all of the dough to make 16 garlic knots or reserve one half of the dough in the refrigerator or freezer to make pizza dough or more garlic knots later.
Step 7: Form each half (or one half if you’re not making all 16 garlic knots at once) into an 8-inch log. Then use your dough scraper to divide the log(s) into 8-inch strips.
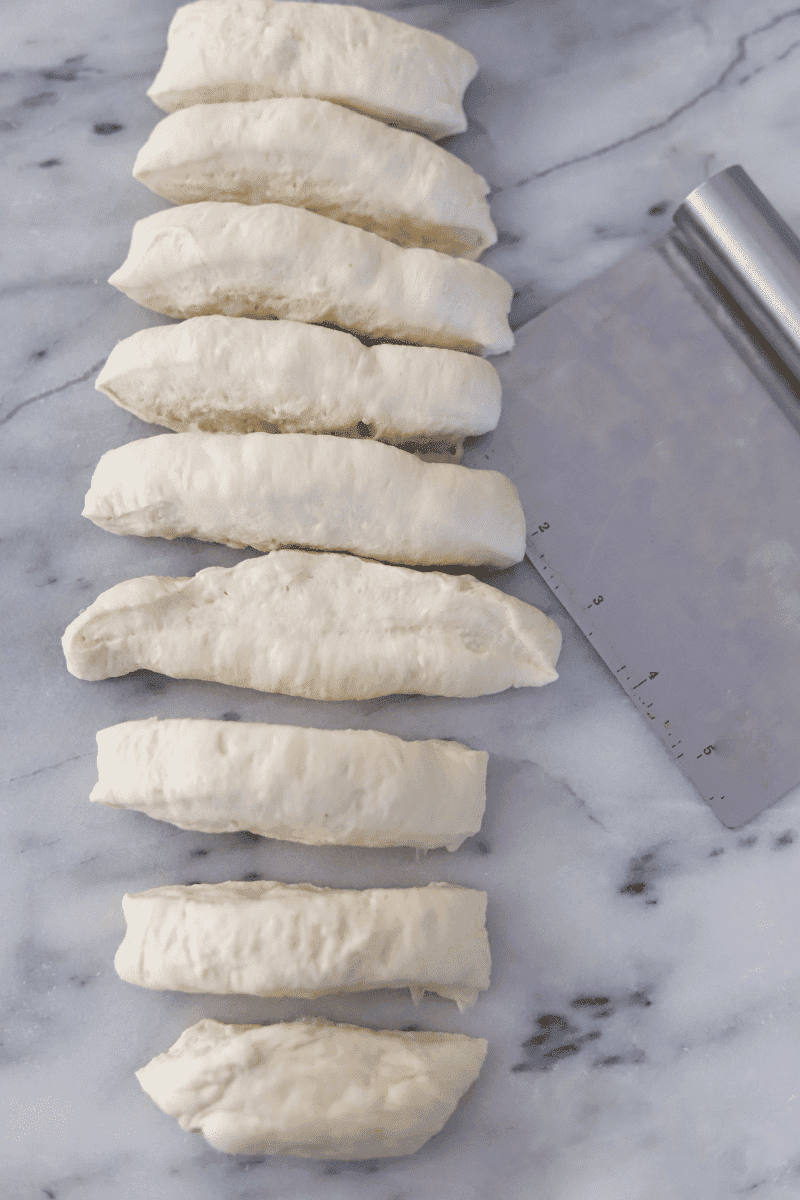
Step 8: For bigger knots (like shown in the photos), roll each strip until it’s about 7-8 inches long and tie it into a knot, tucking 1 end over and the other end under, as shown below.
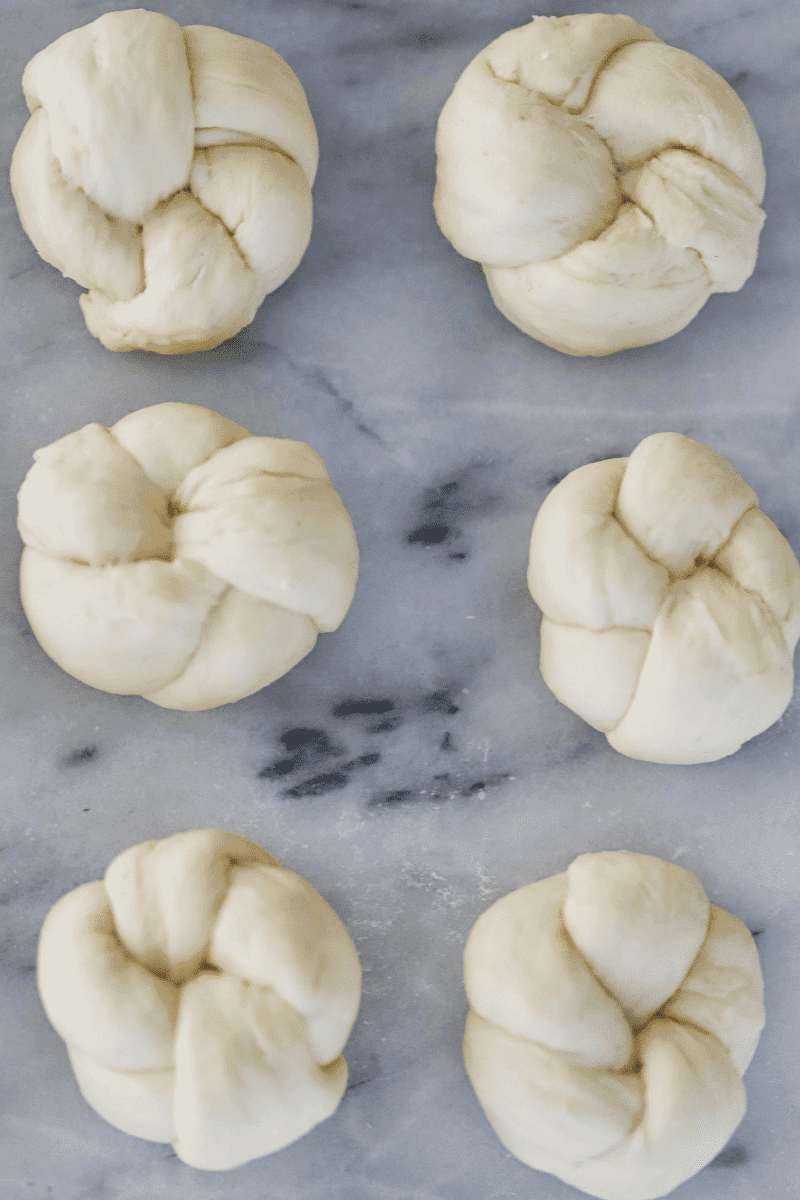
If you prefer smaller knots (not shown) roll each strip about 5-6 inches and tie in a knot. You can tuck the ends under or leave them untucked. It’s up to you.
Step 9: Arrange the garlic knots on a baking sheet (you’ll need 2 if you’re making all 16 knots) and cover them with a dishtowel. Let the garlic knots rise at room temperature for 30 minutes.
Brush the knots in garlic butter and bake
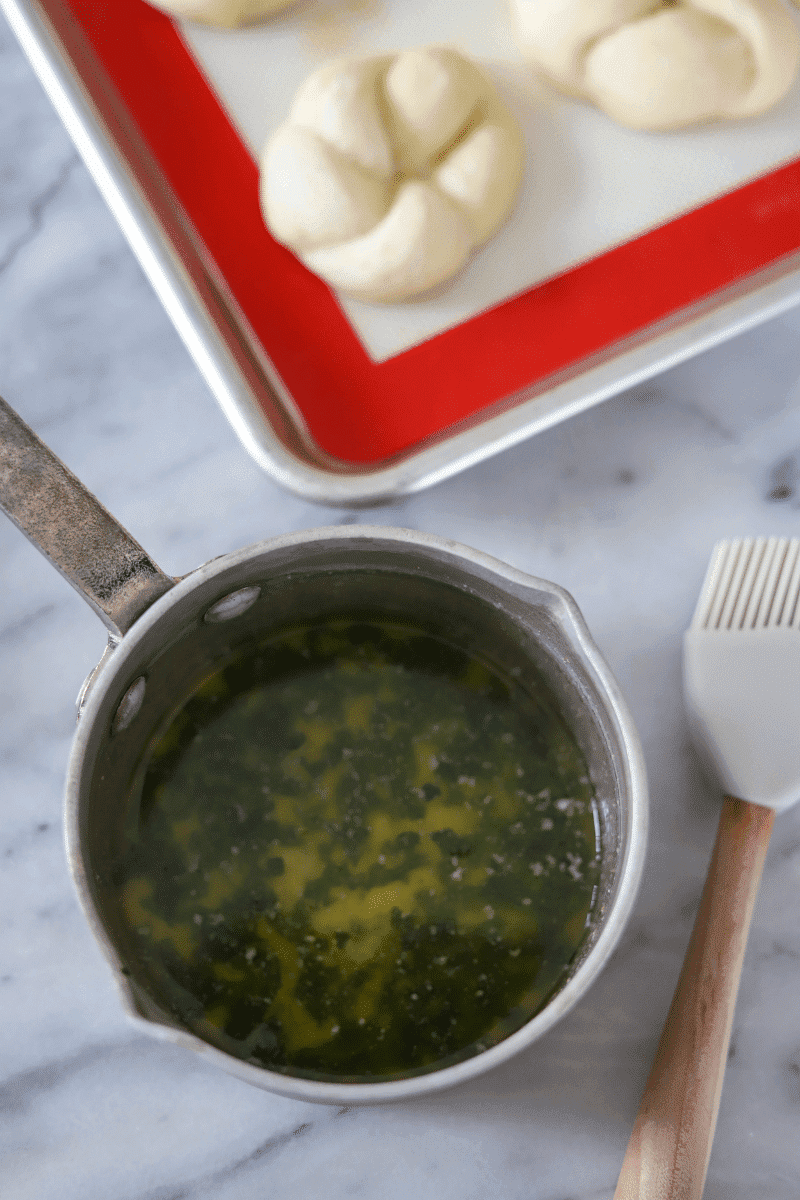
Step 10: I like to keep my garlic butter very simple, all I do is melt a stick of salted butter, add a half-teaspoon of garlic powder and mix in some freshly-chopped basil. Feel free to go all out with the Italian seasonings though! Can you mess up herb butter? I don’t think so.
Step 11: Brush each knot with garlic butter and bake at 425°F for about 15 minutes. After 15 minutes, brush the knots with more butter (you’ll need to reheat the butter if it solidifies) and bake them for about 5 minutes more or until they are deep-golden brown.
Garnish and serve!
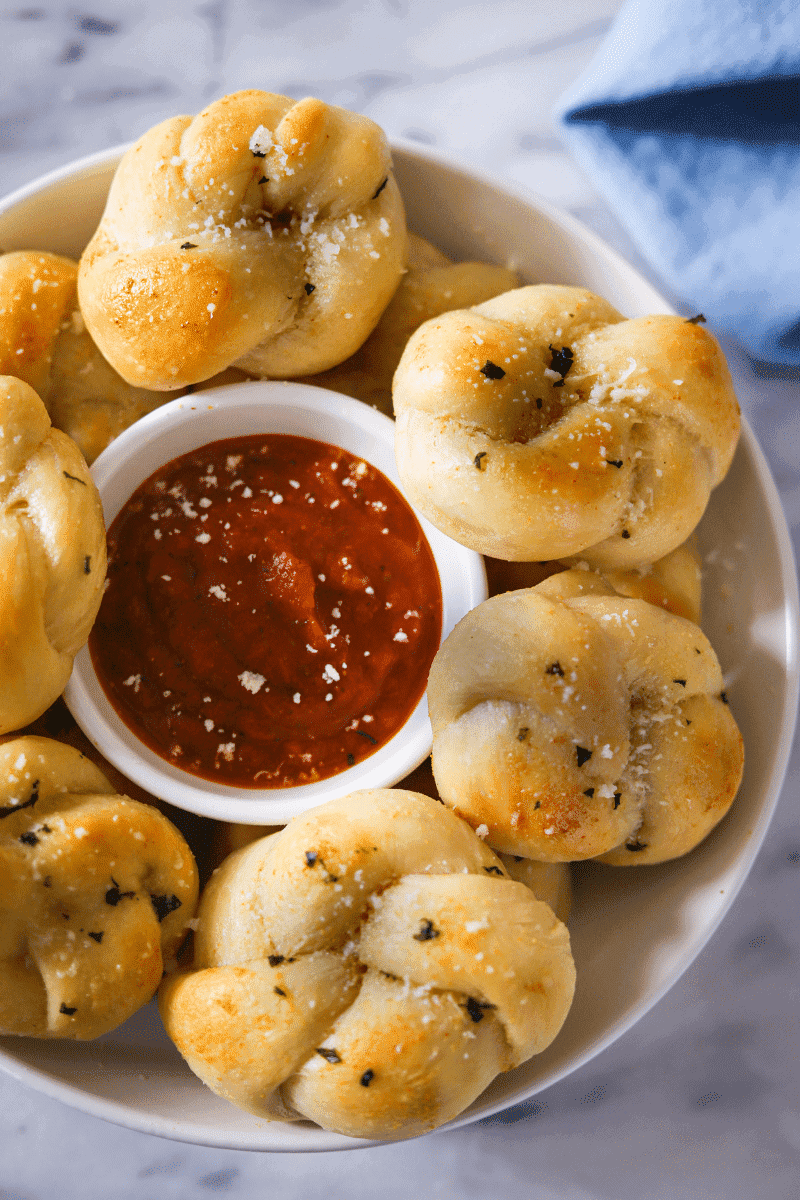
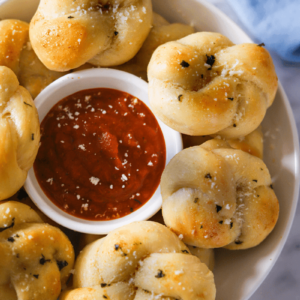
Brush the garlic knots one last time with butter and top them with grated parmesan cheese and more freshly-chopped basil. Serve them with a side of marinara sauce for dipping!
If you liked this garlic knots recipe, check these out!
- Tomato, Basil and Garlic Bruschetta
- Fail-Proof Mozzarella Sticks
- Crispy Vegan Buffalo Cauliflower
- Pasta with Pink Vodka Sauce
- Easy Portuguese Sweet Bread Recipe (Pão Doce/Massa Sovada)
Easy Garlic Knots Recipe
Ingredients
- 4 ¼ cups all-purpose flour
- 1 ¾ cups cold water*
- ¼ cup extra-virgin olive oil plus 2 tablespoons for greasing the bowl
- 1 packet instant yeast*
- 1 tablespoon granulated sugar
- 2 teaspoons kosher salt
- ½ cup salted butter 1 stick
- 8-10 leaves fresh basil
- sprinkle of parmesan cheese
- marinara sauce for dipping
Instructions
- Whisk together the flour, sugar and kosher salt in a large mixing bowl.
- If you're using active dry-yeast, combine it with 1 and ¾ cups of warm (not hot) water, mix it and let sit for 10-15 minutes to activate the yeast-this is called proofing. If you're using instant yeast which is recommended, you can mix it with the dry ingredients in step 1.
- Add the water and olive oil to the bowl with the dry ingredients and bring all of the ingredients together using a silicone spatula. Once the ingredients are combined, use your hands to form the dough into a ball.
- Transfer the ball of dough to a floured surface and knead by hand for 5 minutes (you can instead use a dough hook to combine the ingredients and knead the dough if you would like). Shape the kneaded dough into a ball.
- Place the ball of dough in a clean bowl that's been greased with 2 tablespoons of olive oil. Cover the bowl with plastic wrap (or a warm dish towel) and let the dough rest in a warm place for 1 and ½ hours. The dough should double in size as it rises.
- Transfer the dough to a lightly floured surface and punch it down with your fist to let the air out. Divide the dough in half, and form two 8-inch long logs. Use use a dough scraper or pastry cutter to cut the dough into 8 strips.
- Roll each strip of dough into an 8-inch roll, tie the dough strip into a knot and tuck the ends. Divide the 16 knots between 2 large baking sheets, leave them slightly spaced apart.
- Cover each the baking sheet with a dishtowel and let the garlic knots rise again for 30 minutes.
- Preheat your oven to 425°F, and make the garlic butter by melting the salted butter in a small sauce pan. Chop the basil and add ¾ of it to the saucepan. Reserve the rest for garnishing. Mix in the garlic powder and brush each knot with garlic butter.
- Bake the garlic knots in the oven for 15 minutes, brush them again with garlic butter and let them continue baking for another 5-10 minutes, until they're deep golden-brown.
- Once the knots have finished baking, brush them one last time with garlic butter, and sprinkle them with grated parmesan and the remaining chopped basil. Serve with side of marinara sauce.
Leave a Reply