

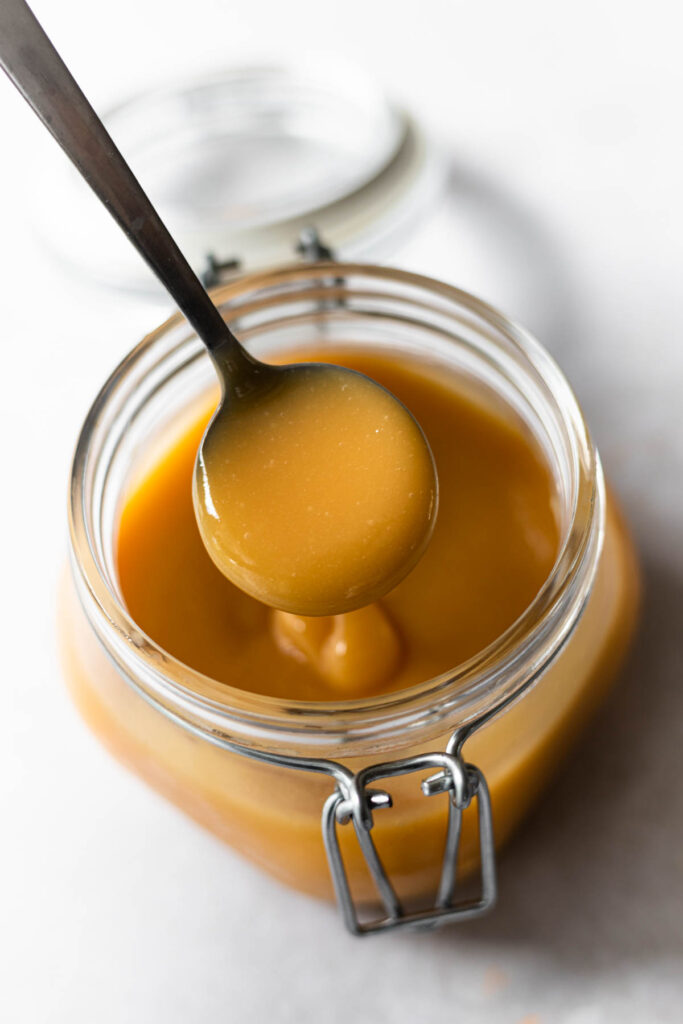
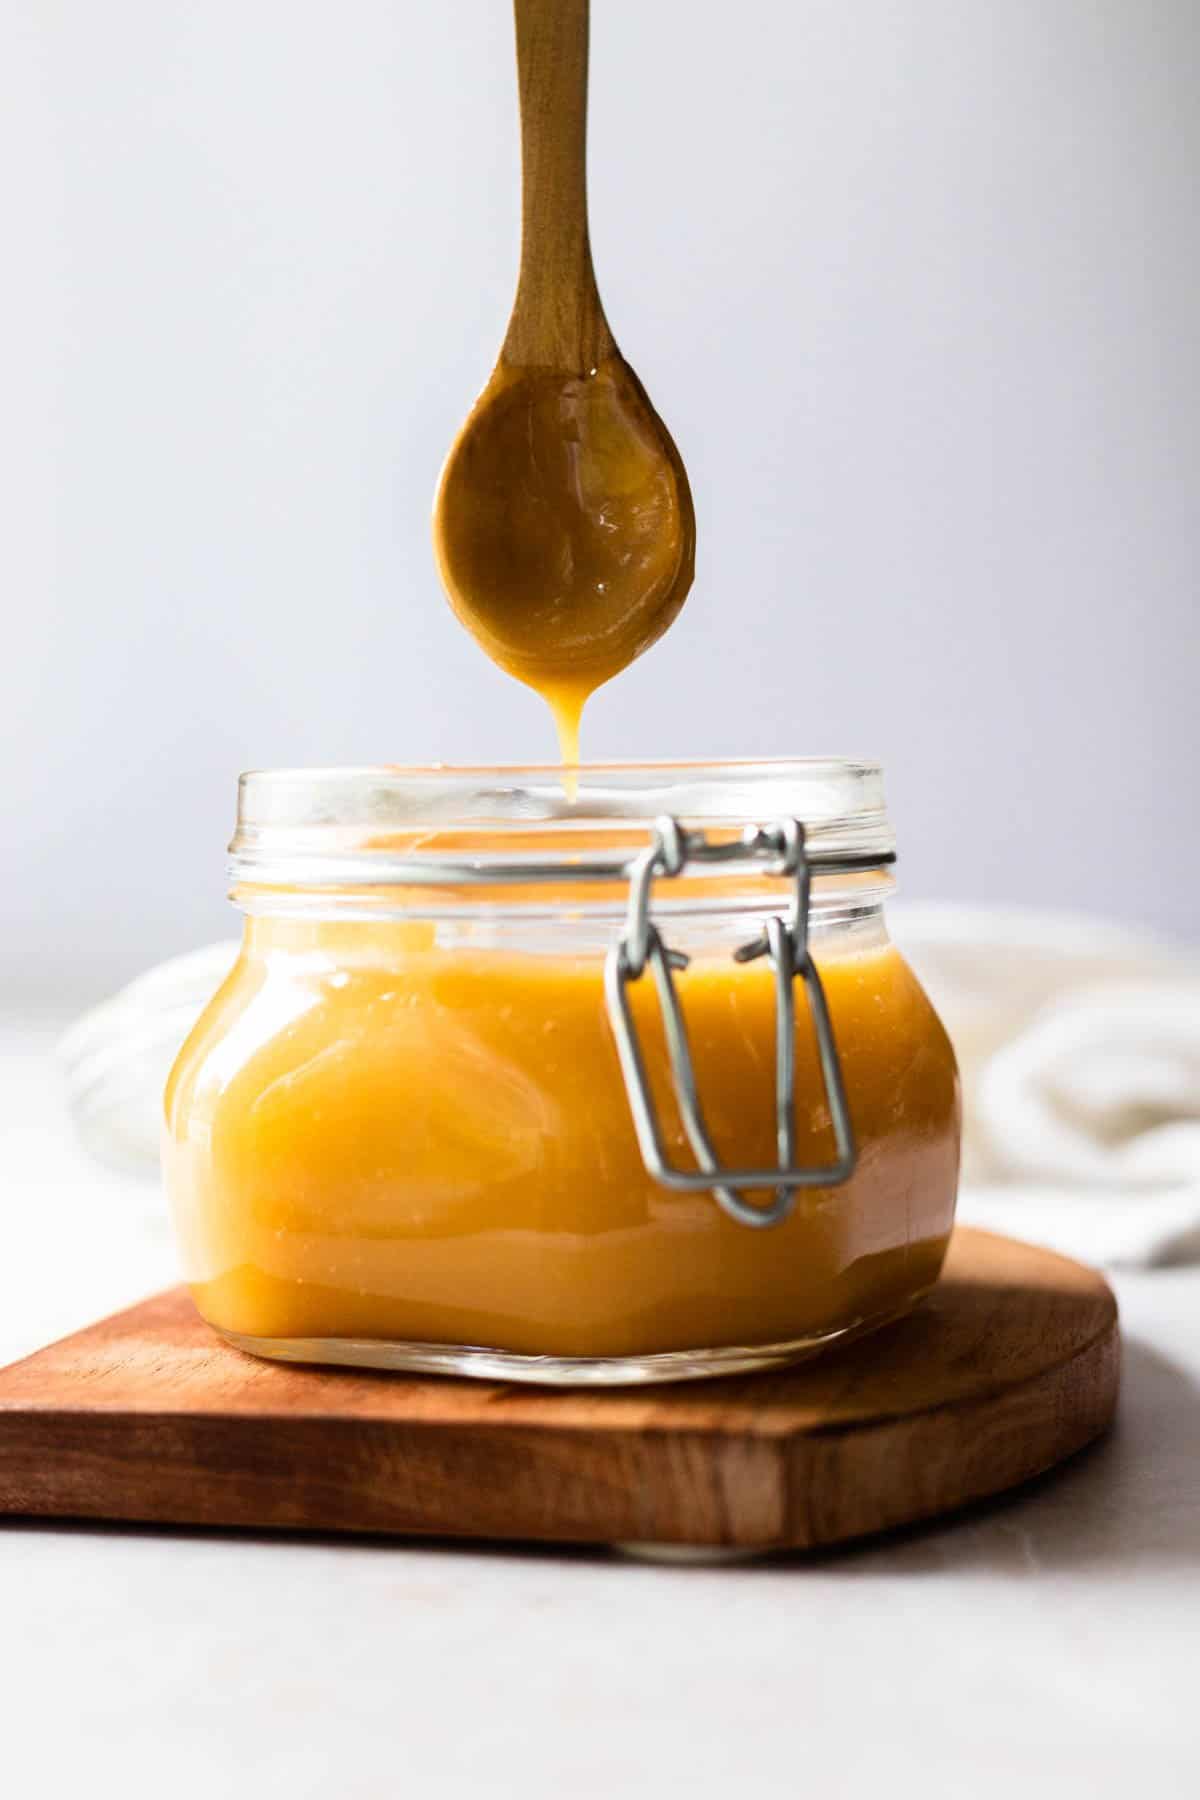
Doce de leite caseiro (homemade dulce de leche) is a thick, sweet and caramel-like spread that’s eaten in Portuguese and Spanish-speaking countries. The main ingredients are milk and sugar. Choose from 3 methods – the classic method, in a water bath or a quick stovetop method!
Sometimes I say doce leite, sometimes I say dulce de leche. The point is I’m low-key obsessed. This delicious sweet lends itself to so many delicious desserts – like this delicious flan and these yummy churros!

What is doce de leite?
It’s a creamy milk-based sweet that’s traditionally made from cooking milk and sugar together over low heat. As the mixture cooks, it thickens and turns a lovely caramel color.
Also referred to as dulce de leche in Latin America, it’s often served as a spread with cookies or as a filling or sauce for pastries and other treats.
While the exact origins of doce de leite, are unclear, most online sources point to Argentina as the birthplace of its Latin-American equivalent, dulce de leche. Sadly, there isn’t much documented about the history of versions from other cultures.
Why you’ll love this recipe
I’ll show you 3 different techniques in this post! There are variations in color and texture depending on the method you choose.
Choose from the classic method, water bath method and quick method. Each are explained below with photos.
3 methods explained
- The classic method is by far my favorite! It has a deep milky flavor and smooth, light color and texture. This method takes about 2 hours and requires a lot of stirring (but you can take breaks). I love this method because of the taste, and the fact that it thickens beautifully but remains spreadable, even after you store it in the refrigerator.
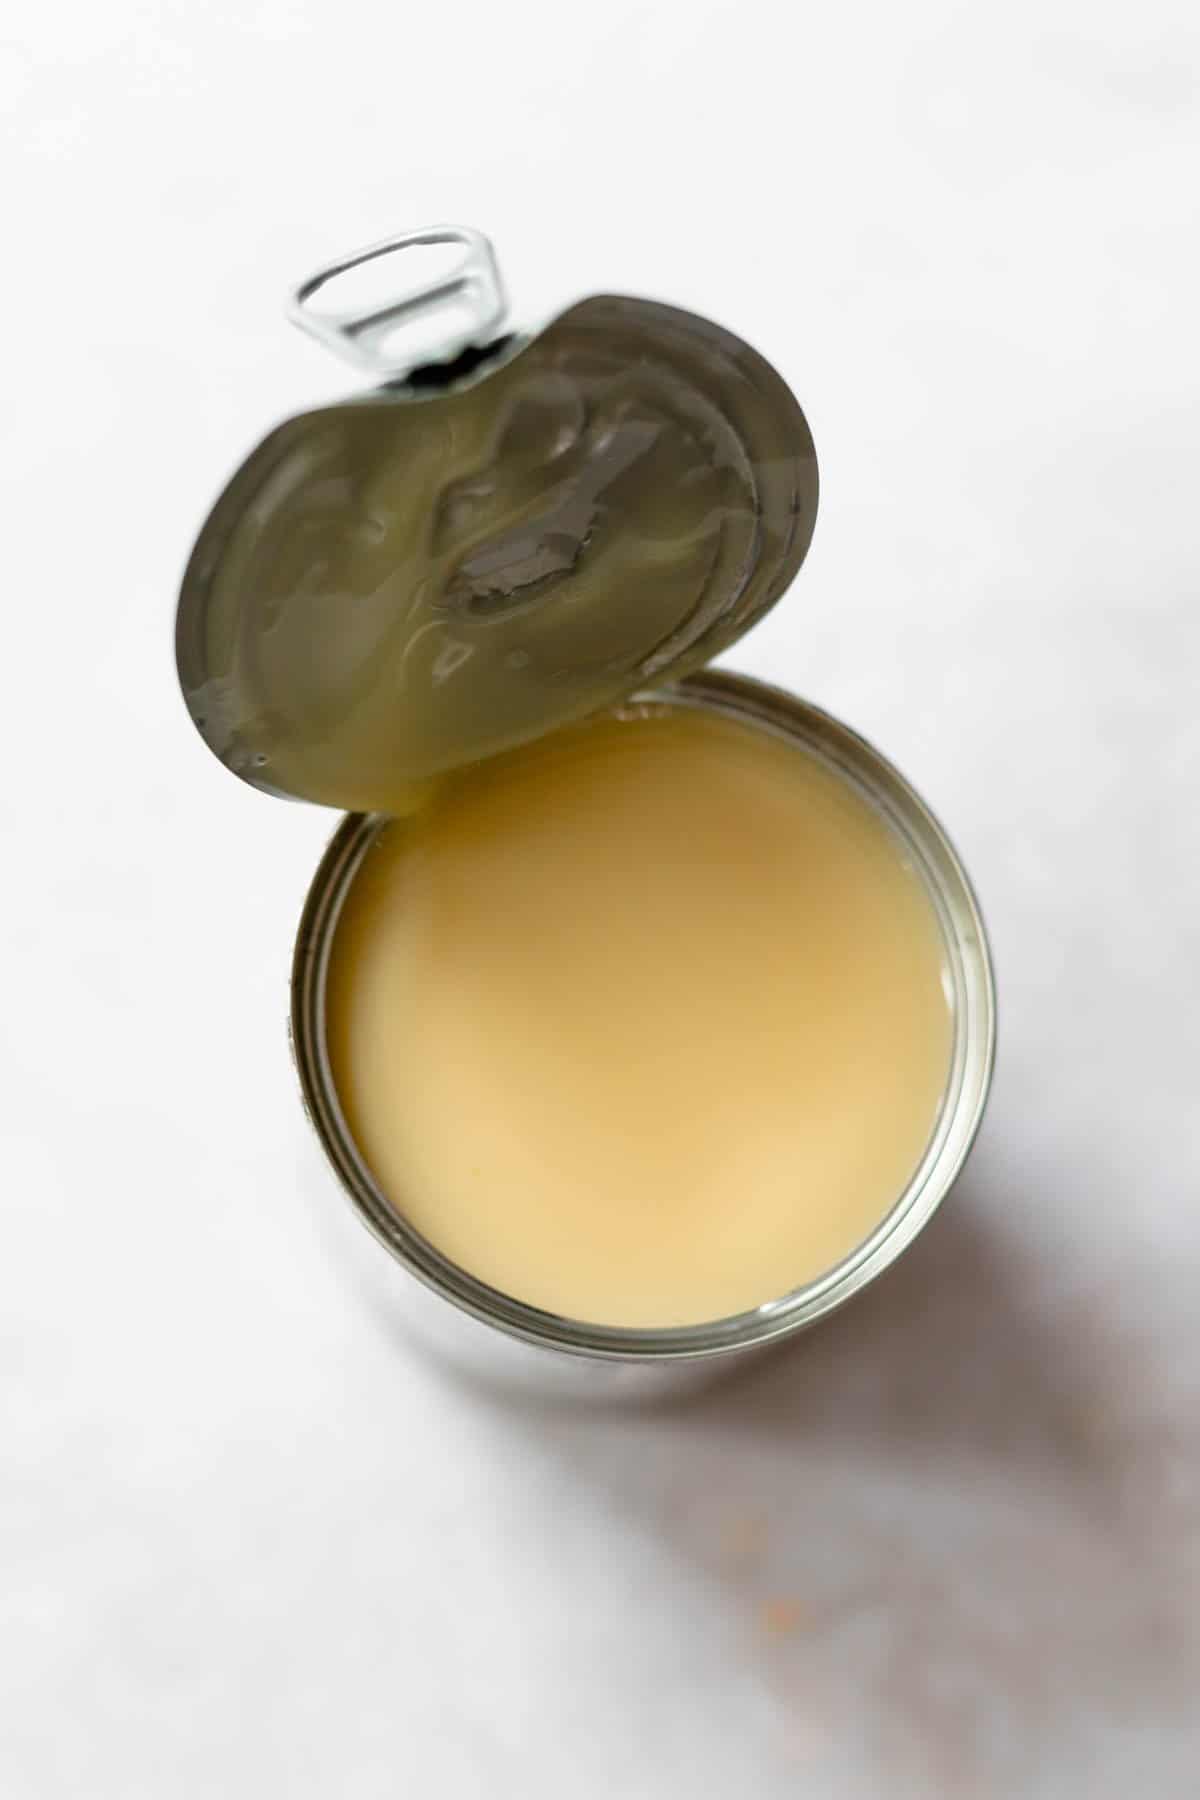
- The water bath method is more hands off and only has 1 ingredient – a single can of sweetened condensed milk. The condensed milk is poured in a glass baking dish, covered and baked in a water bath for 2 hours. This method yields a thicker, darker and nuttier-taste. It’s great when used as a filling for piped and layered desserts.
- Quick method – this stovetop method is made from caramelized sugar and condensed milk. It thickens quickly and makes a great dipping sauce if eaten right away. Although convenient, this method has one drawback – it becomes hard once it cools, which means it’s not great for storing or spreading.

Ingredients you’ll need
The ingredients vary based on technique and are listed below.
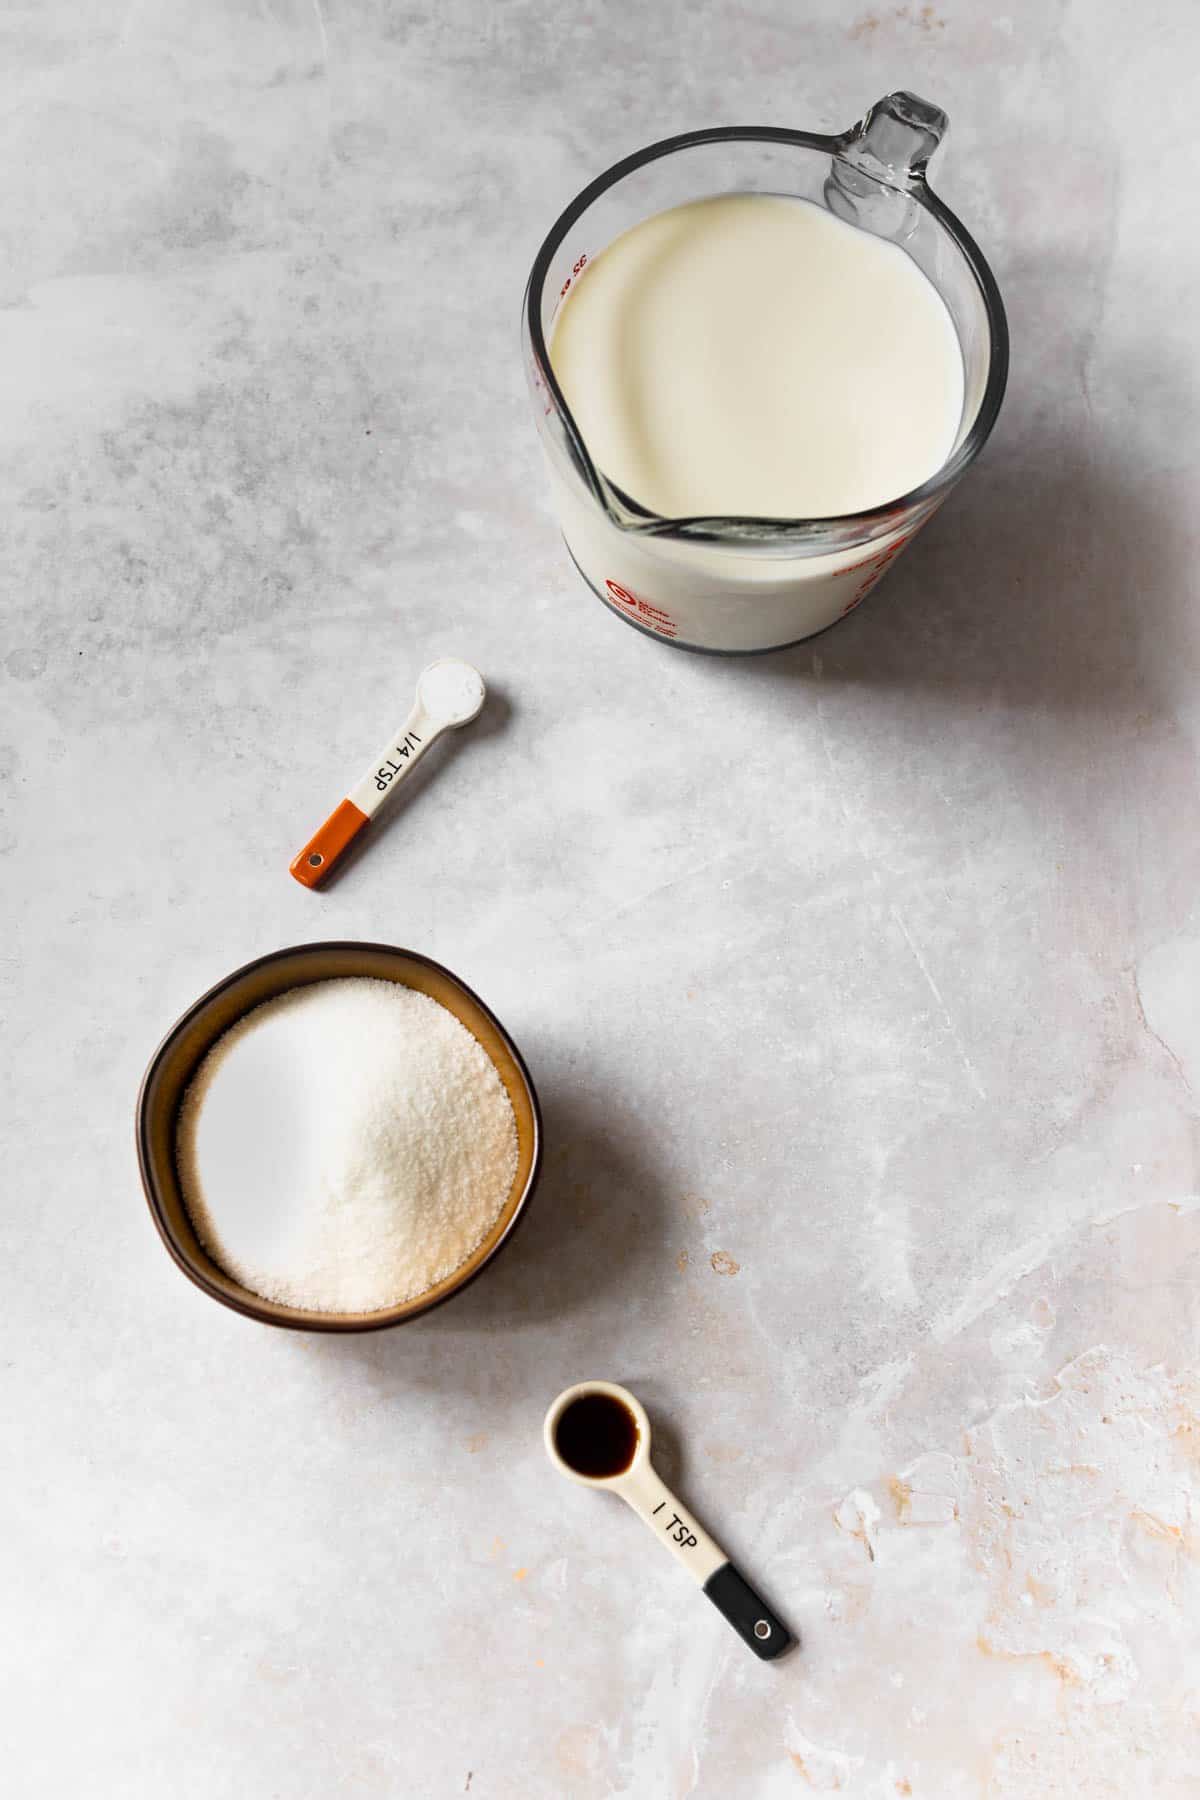
- Classic – whole milk, granulated sugar, baking soda, vanilla extract
- Water bath – 1 can of sweetened condensed milk
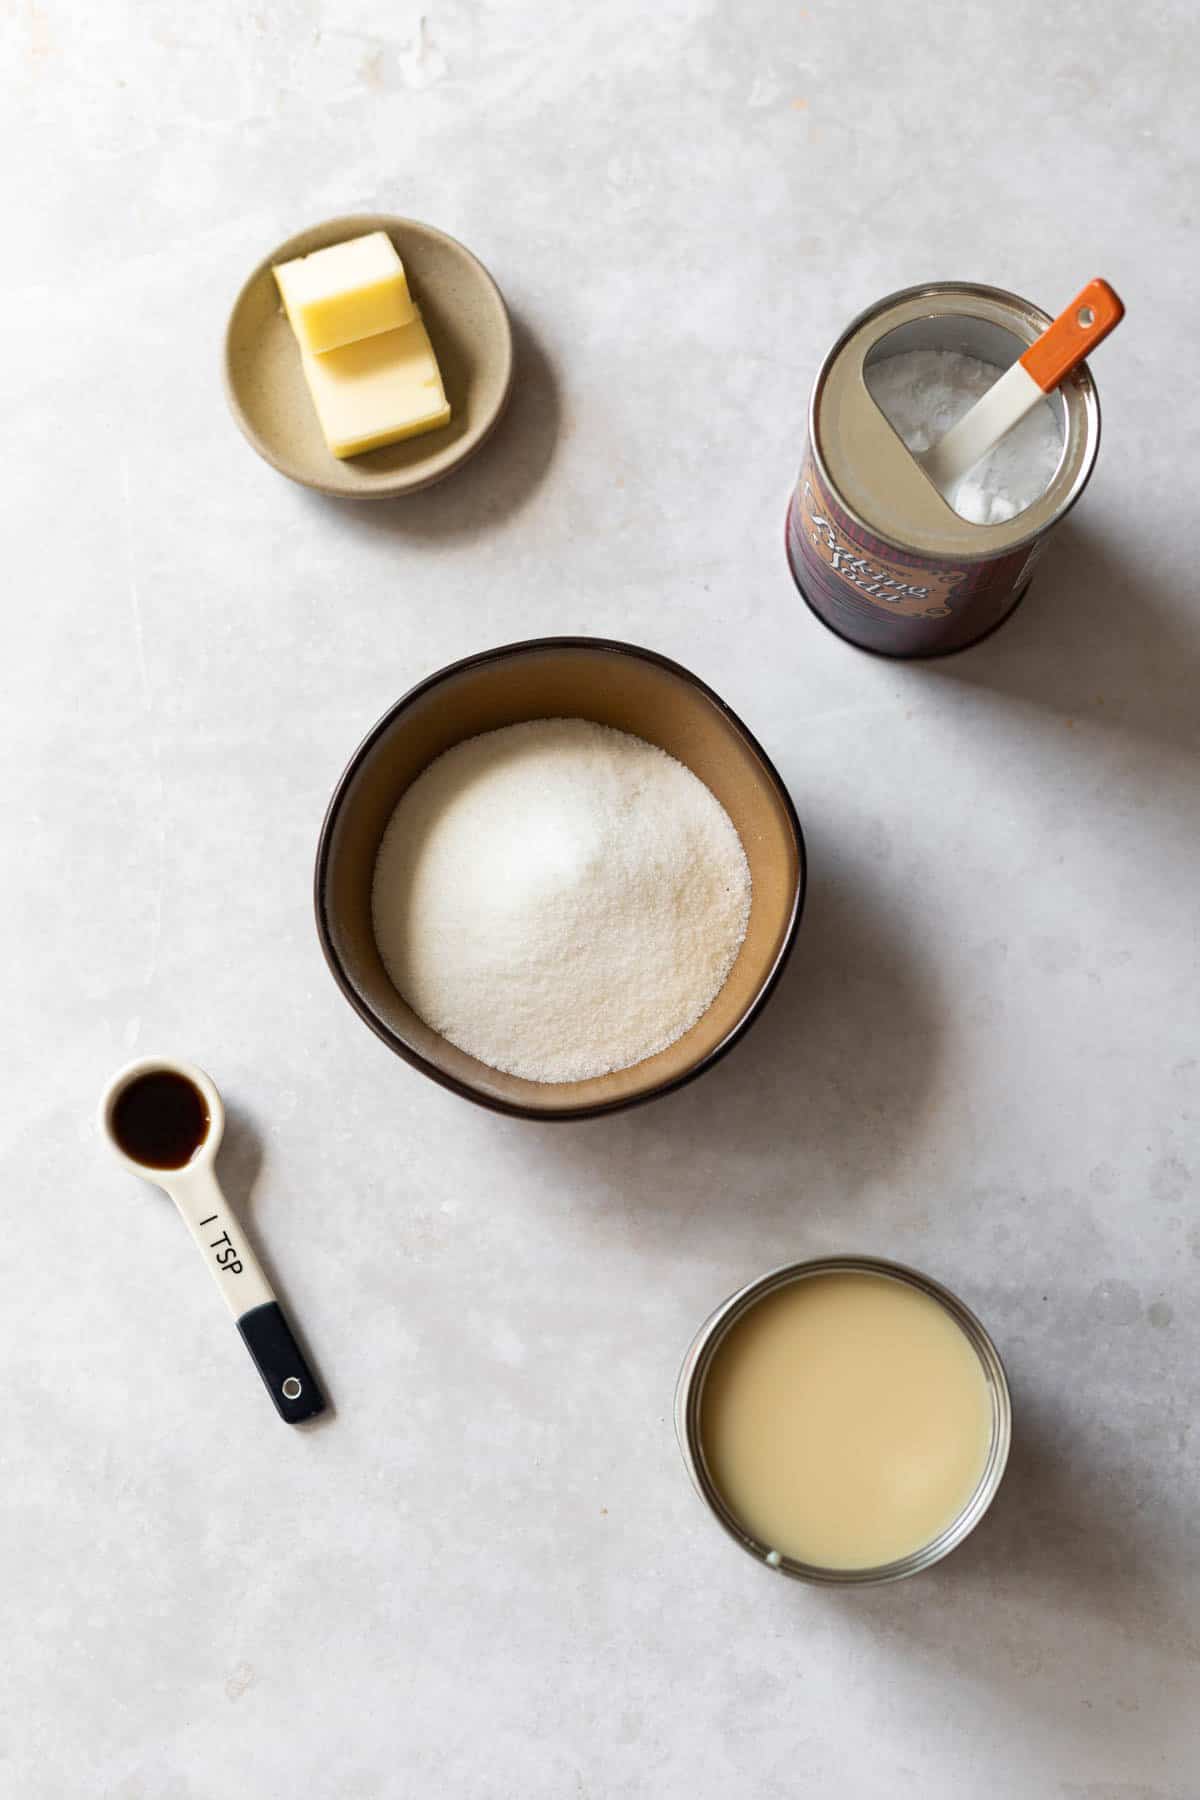
- Quick method – granulated sugar, unsalted butter, baking soda, 1 can of sweetened condensed milk
Quantities and exact measurements are listed in the recipe card near the bottom of the post.
How to make doce de leite
Carefully read through each set of instructions before getting started. Pick your technique and let’s go!
#1: Classic method
Prepared on the stovetop and takes about 2 hours. It yields a delicious milky taste, light color, and delicate texture – refer to the photos below. This is my favorite technique.
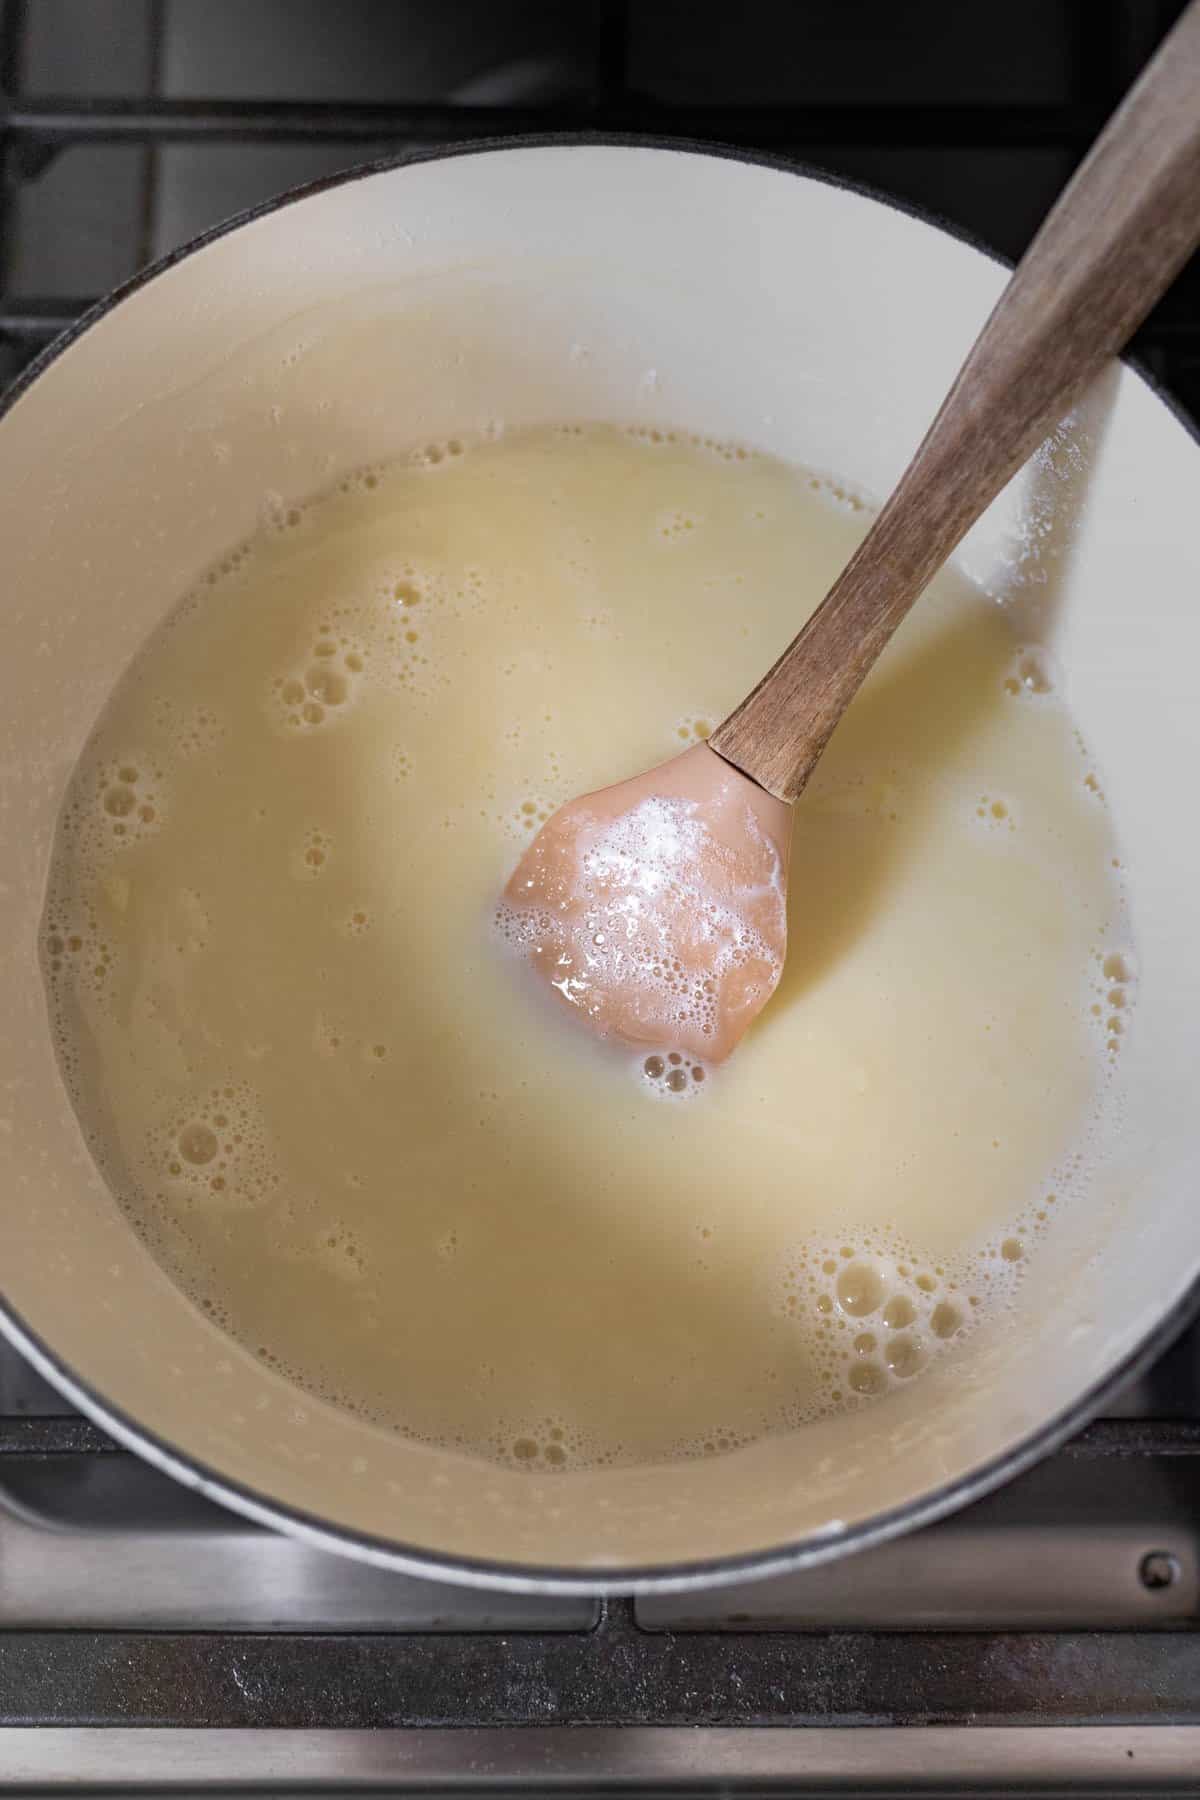
- Stir milk, sugar and baking soda together in a large, heavy-bottomed pan.
- Bring the mixture to a gentle boil and then reduce heat and let simmer for 2 hours. Stir occasionally, but watch closely. The liquid will thicken and reduce in volume.
- As the mixture starts to brown and become thicker, you’ll have to stir more frequently to prevent it from burning/sticking to the bottom of the pan.
- Once you’ve reached the color and consistency that you like, stir in the vanilla extract and turn the burner off.
- Let cool slightly and transfer to a jar with a lid. The doce de leite can be served immediately. It will continue to thicken as it cools.

#2: Water bath method
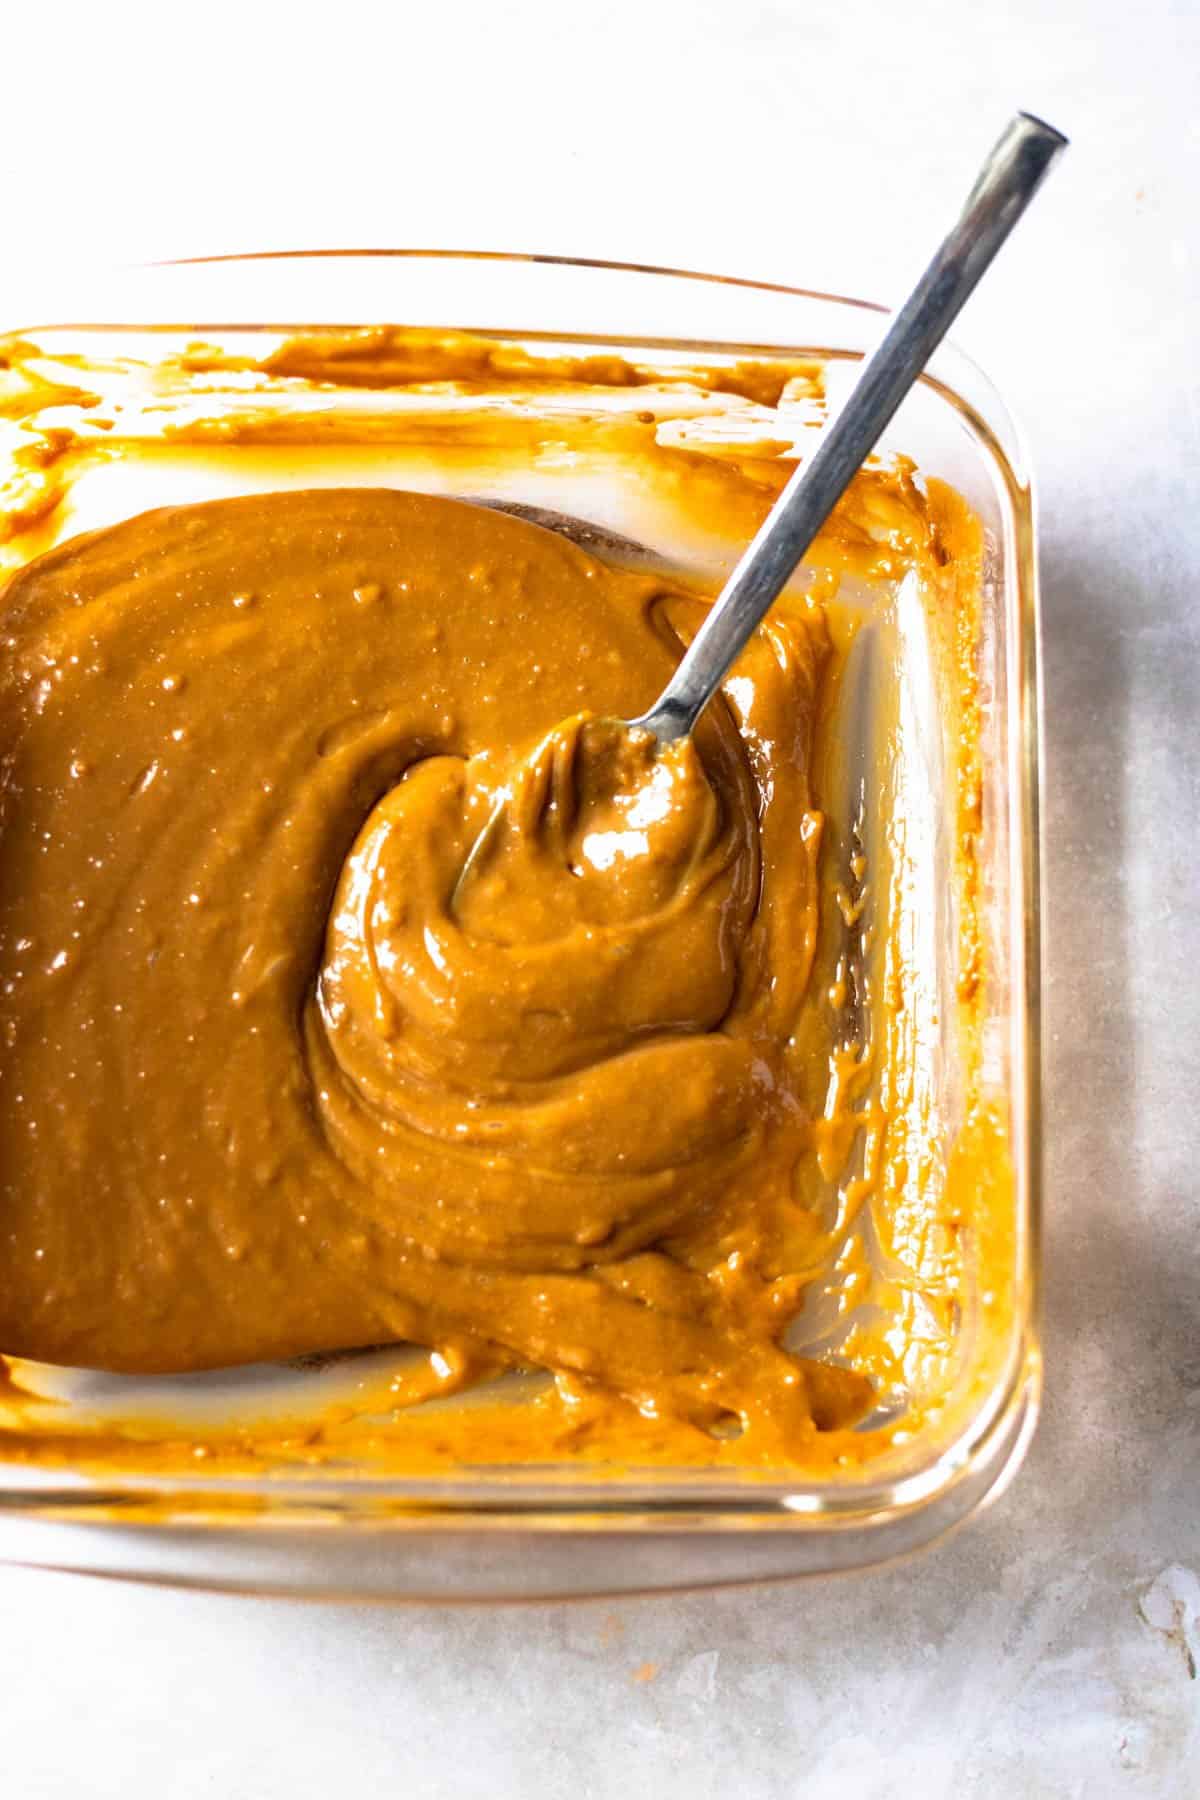
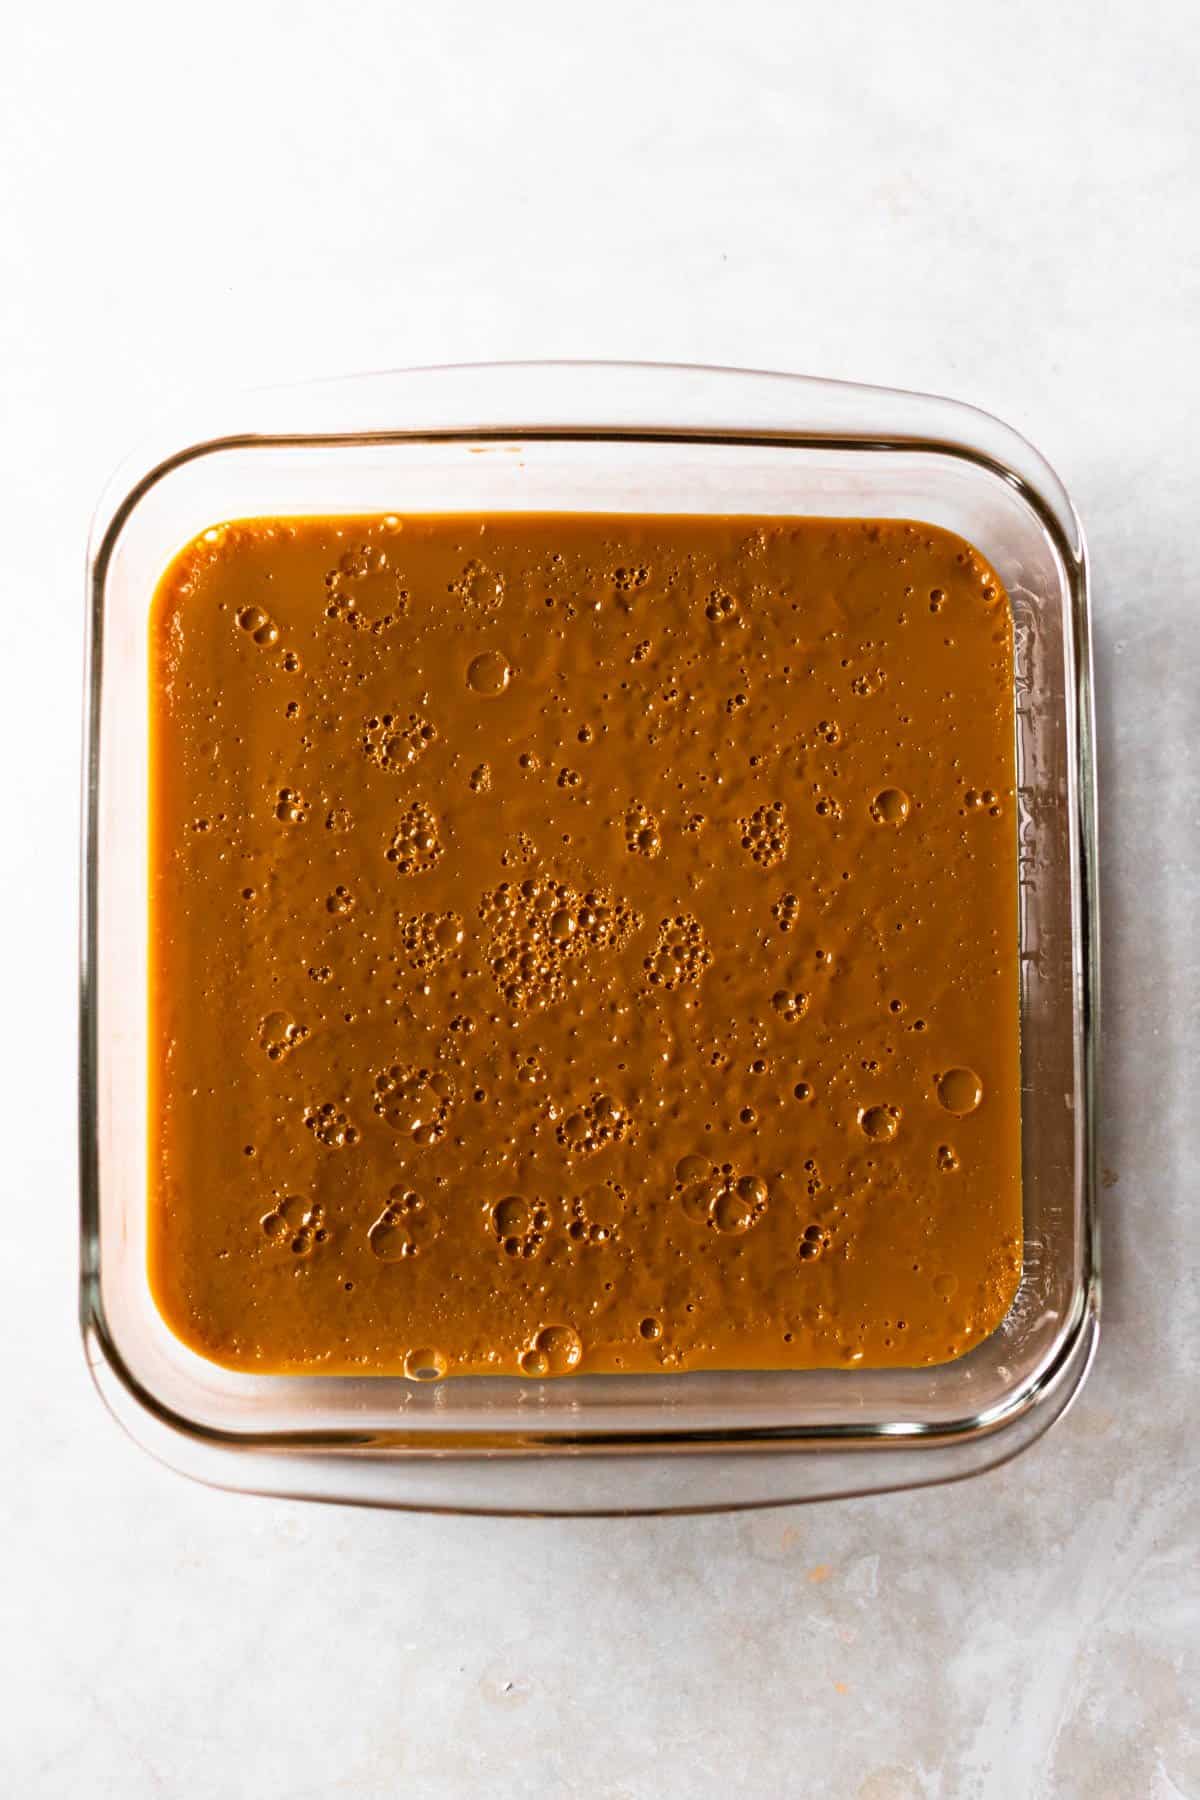
Hands-off method, cooked in a water bath. Yields a thick texture and deep-color. This version most mimics the color and taste of store-bought versions, except it’s not as smooth.
- Preheat the oven to 450°F.
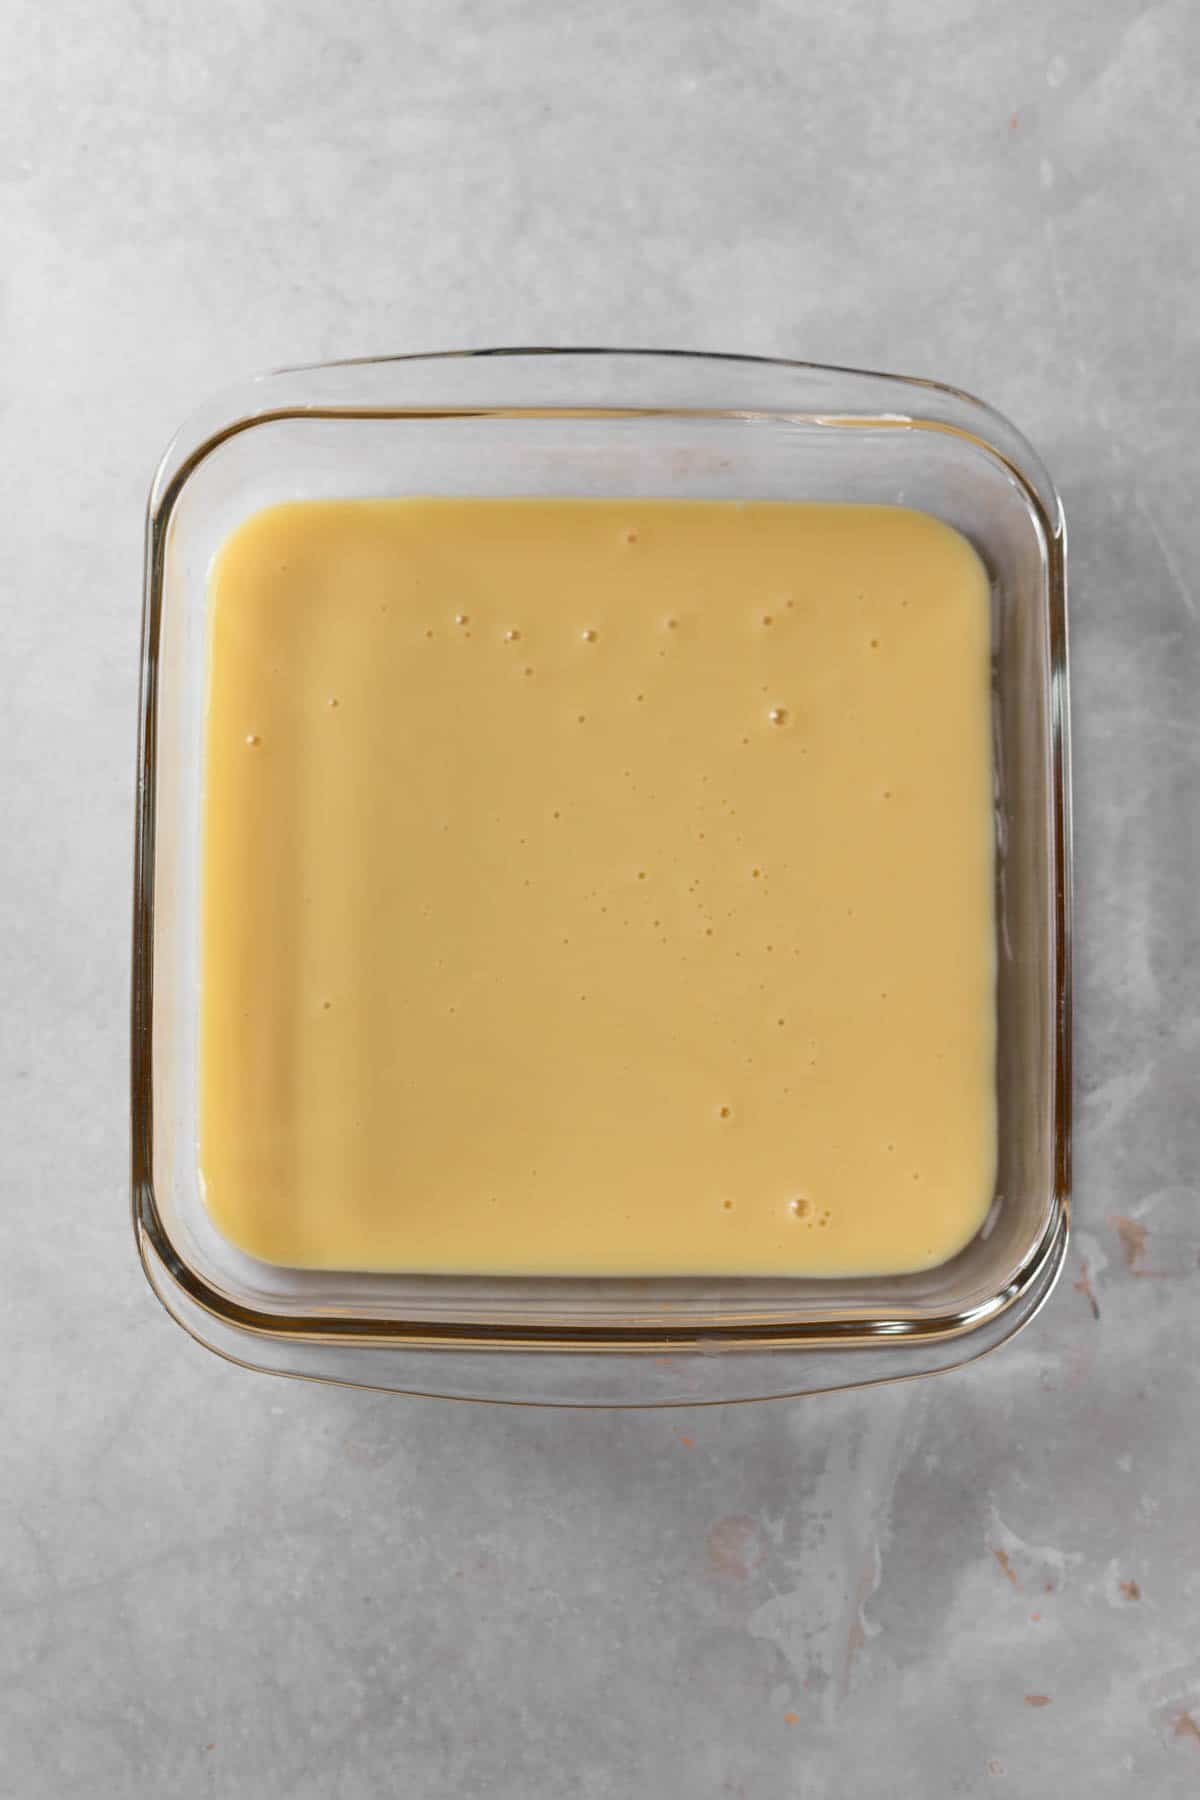
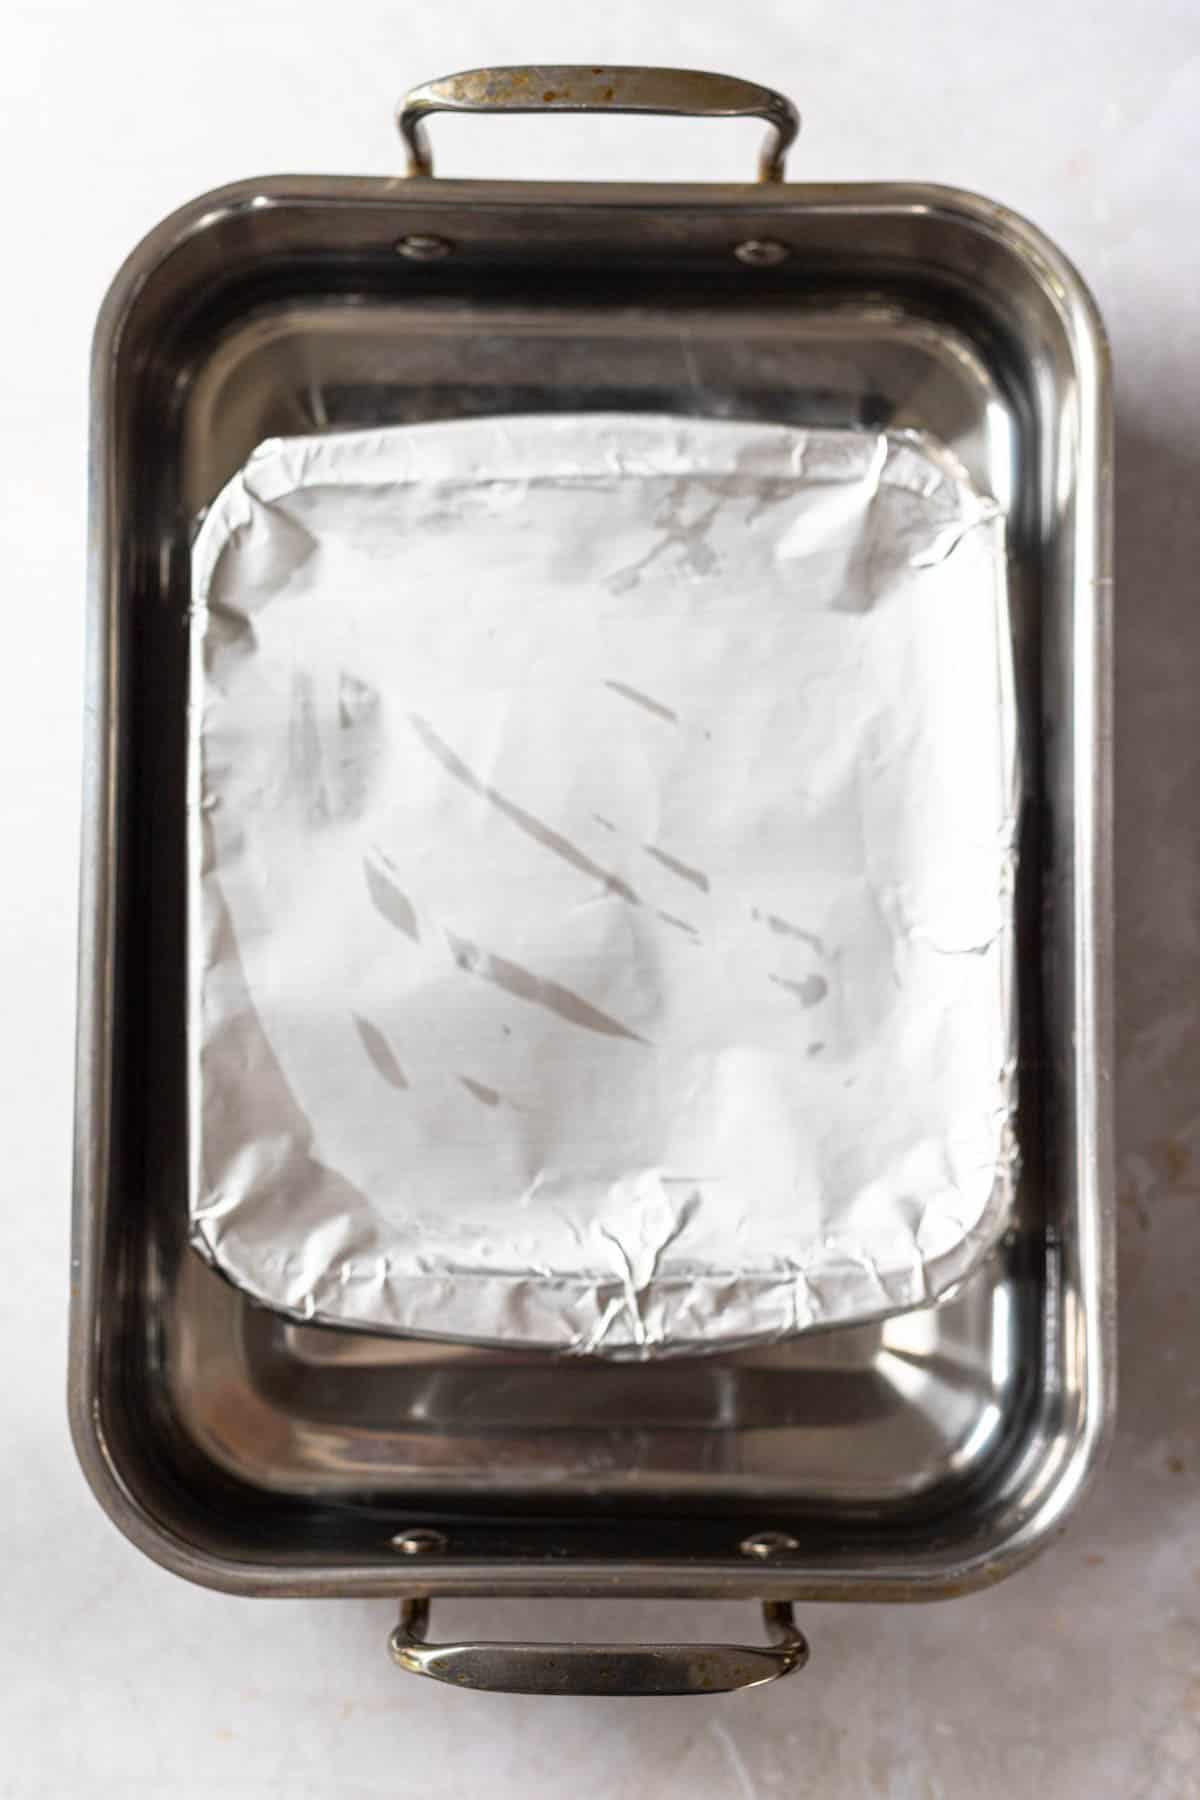
- Open the can of condensed milk and pour it into a shallow baking dish. Cover the baking dish with foil and place the dish in a large roasting pan.
- Fill the roasting pan with boiling water until it reaches half-way up the side of the baking dish. Bake in the oven for 1 hour and 45 mins.
- Let the roasting pan cool slightly and then remove the baking dish from the water bath.
- Uncover the dish and whisk until smooth.
#3: Quick method
This techniques takes about 15 minutes and yields a very sweet taste, deep color and smooth texture. The color and thick texture are achieved by caramelizing the sugar first. This method is not ideal for storing, or if you want the doce de leite to remain soft and spreadable.
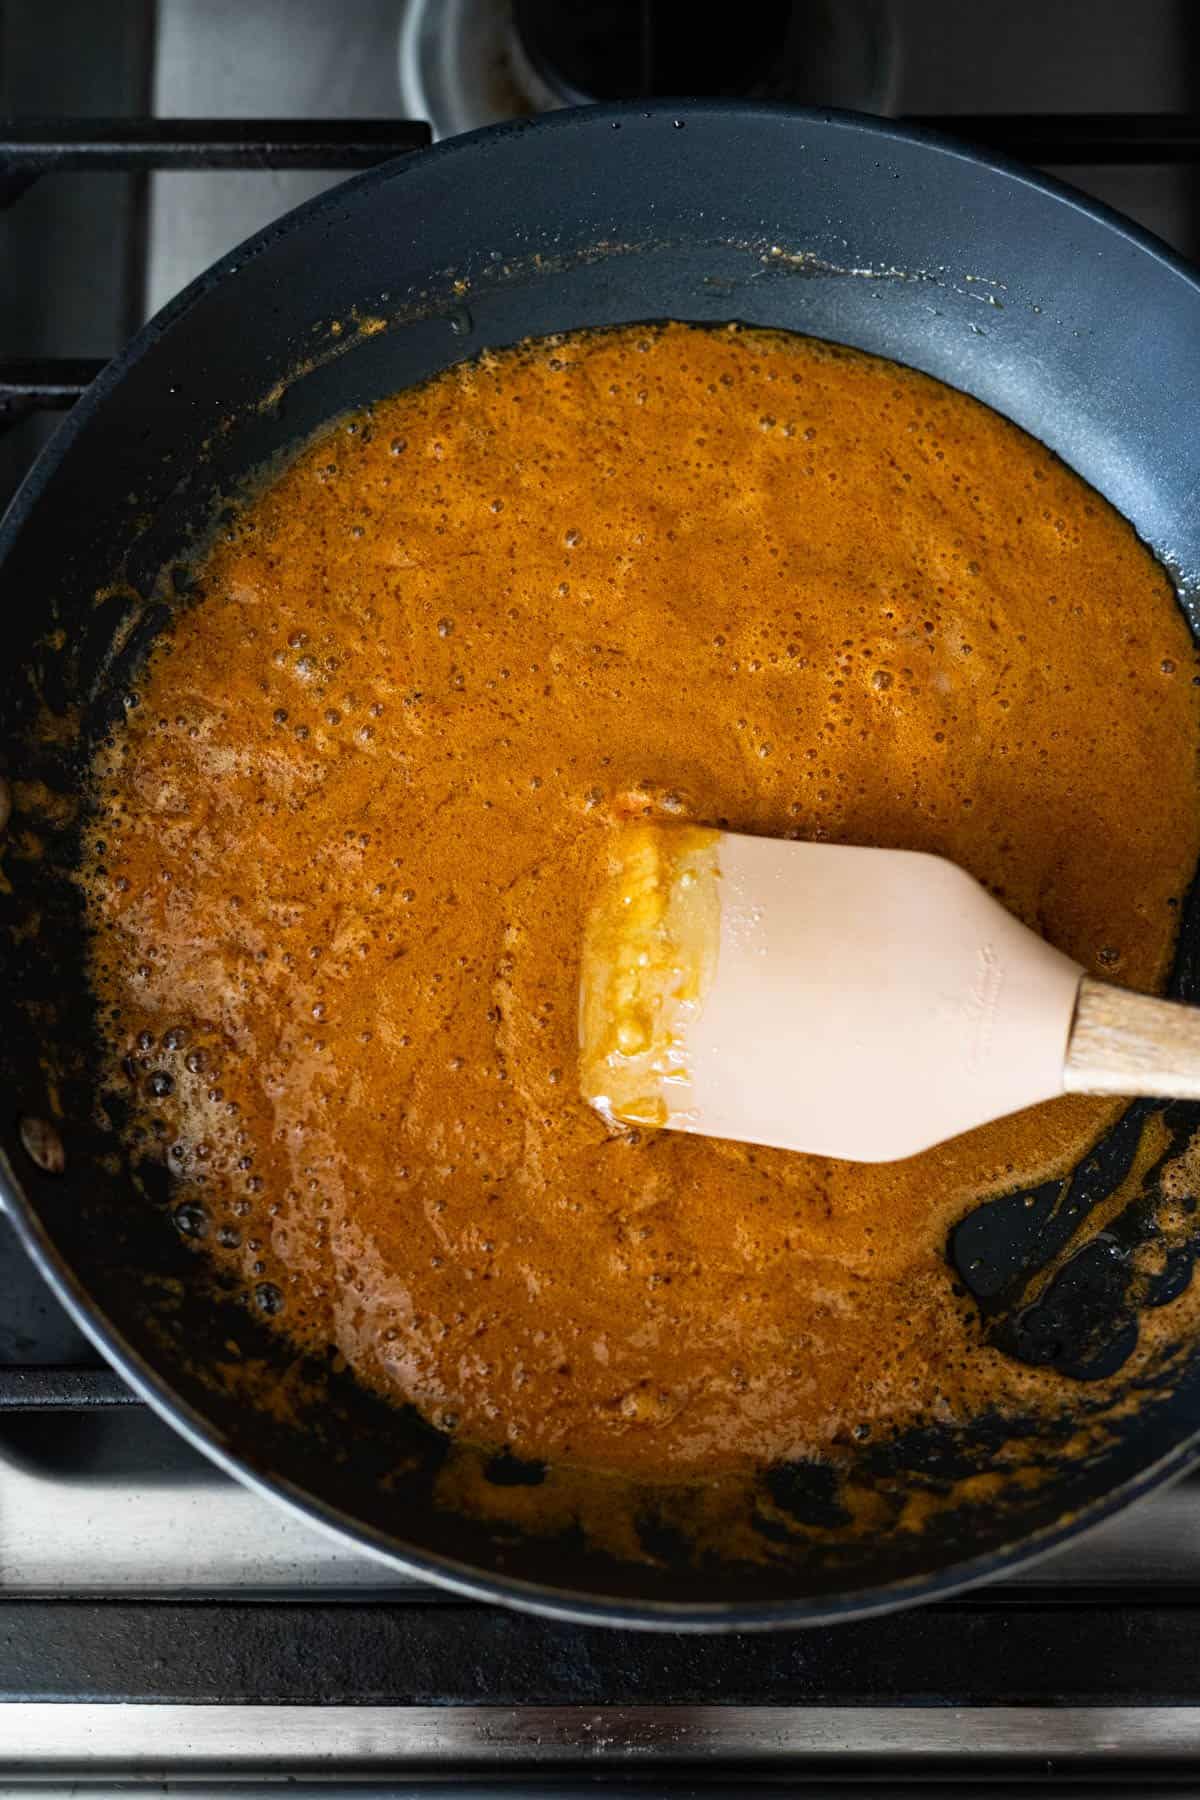
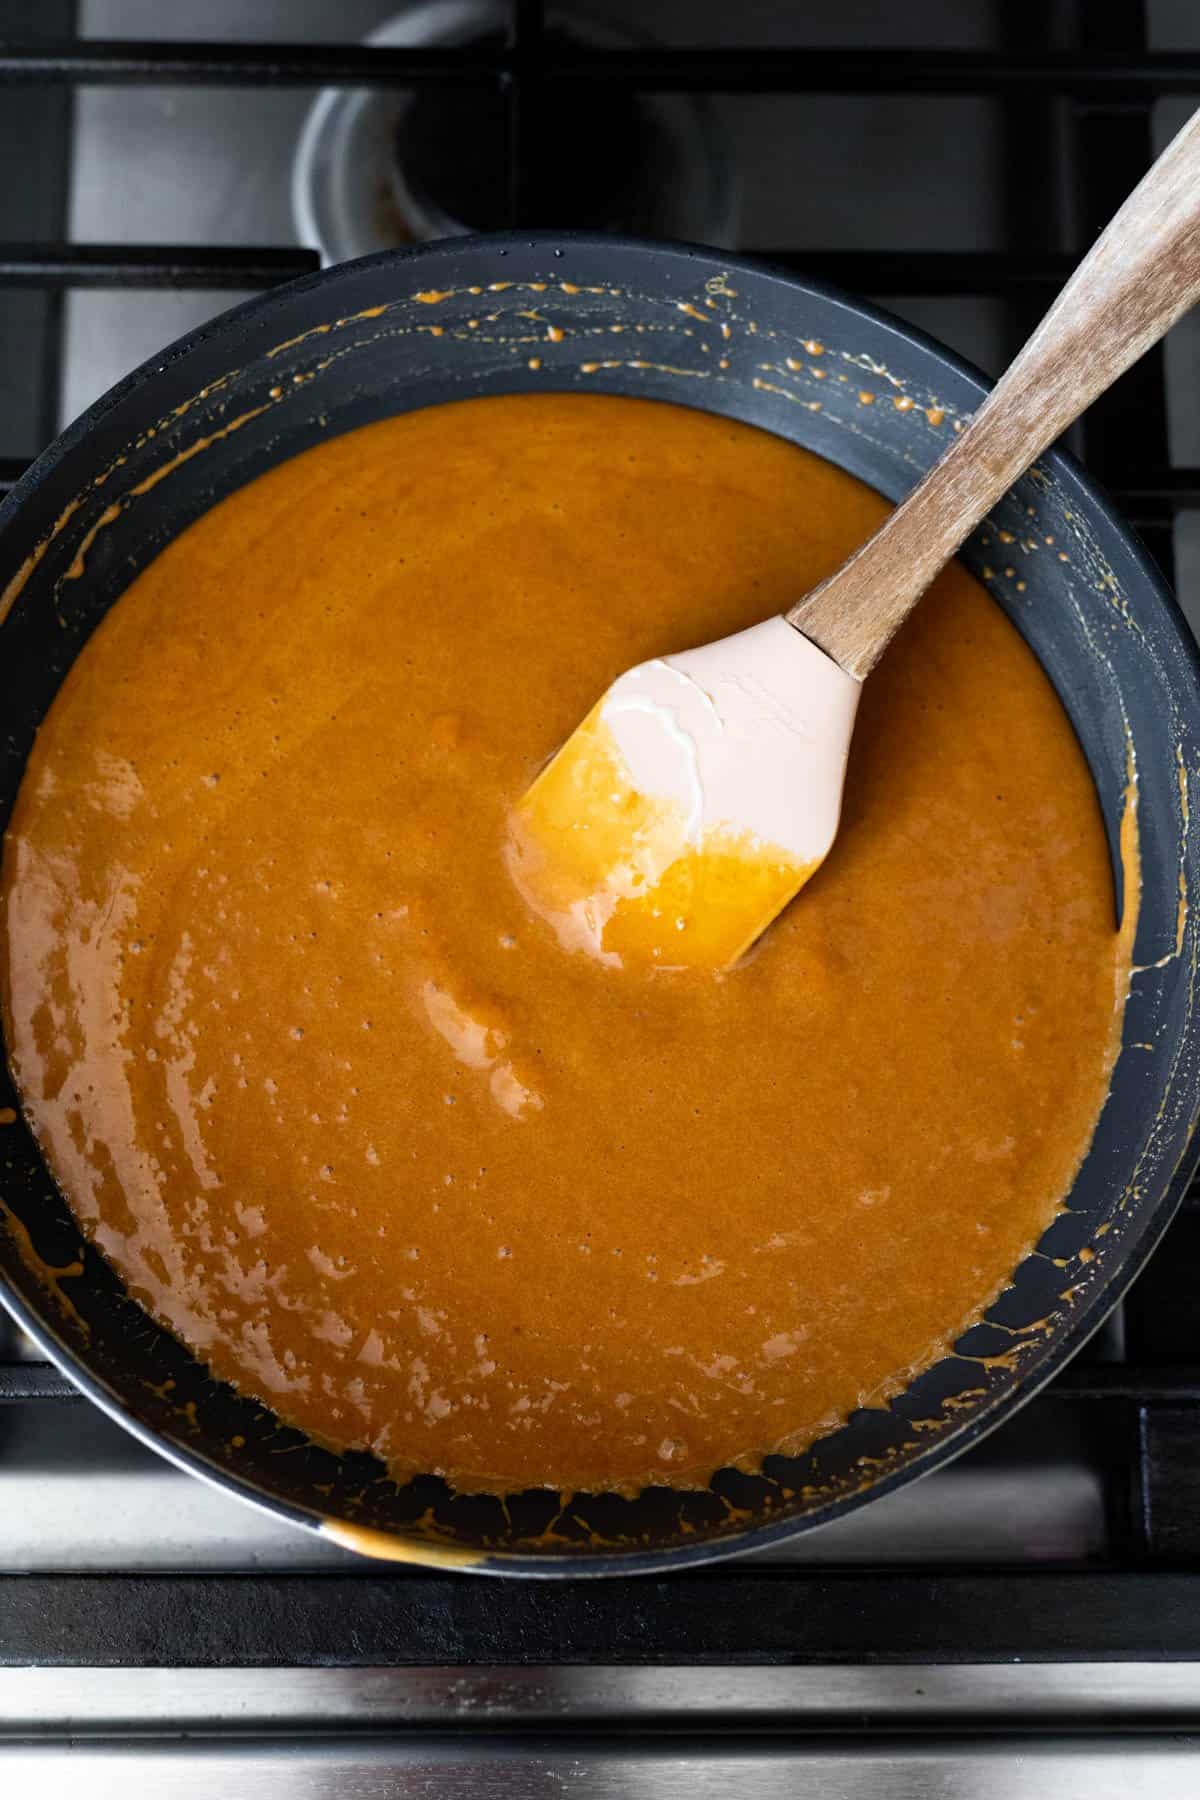
- Heat ½ cup sugar over medium heat in a non-stick frying pan or 2-quart saucepan. Stir constantly using a rubber spatula. Within a few minutes the sugar will start to liquify and turn amber in color. Keep stirring until the sugar fully dissolves into a brown-colored syrup.
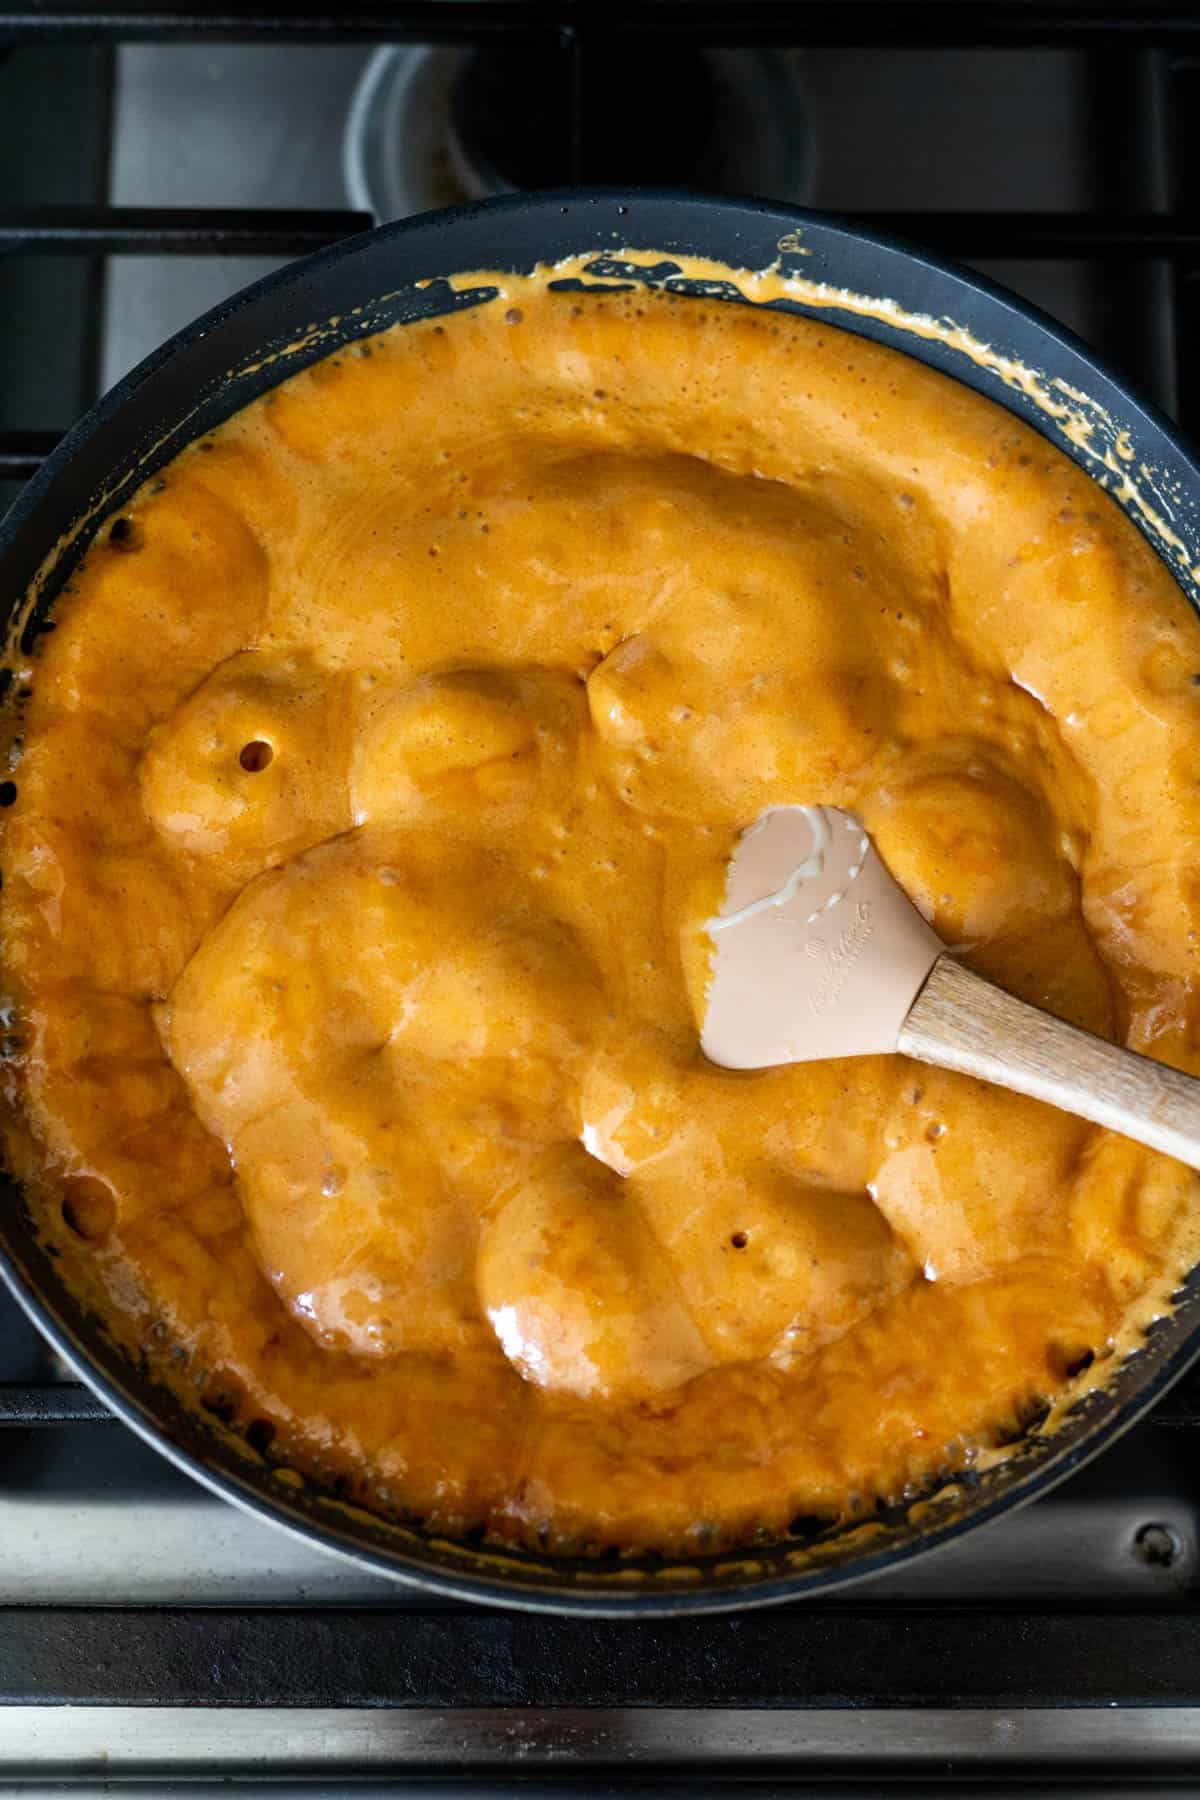
- Turn the flame down to the lowest setting and add the butter and baking soda at the same time. Then add sweetened condensed milk and keep stirring. The caramelized sugar will start to harden, keep stirring and the mixture will become smooth again after 5-7 minutes.
- Once the mixture is completely smooth, carefully transfer it to a small bowl or jar with lid. Serve while it’s still warm.


Variations
As I mentioned, there are variations of doce de leite/dulce de leche across cultures. Here are some!
- Doce de leite talhado – this version is made with curdled milk, or by adding an acid to fresh milk (usually vinegar, lemon or lime). Spanish speaking countries refer to it as as dulce de leche cortada.
- Cajeta – Mexican version of dulce de leche made with goat’s milk.
- Doce de leite cortado – this version of doce de leite resembles fudge. It’s cooked, cooled completely and then cut into squares. Cortado means “cut” in Portuguese.
Commonly asked questions
These methods involve boiling cans of condensed milk or placing them in a pressure cooker. I don’t use either method because they can cause harm if not done correctly.
The cans have to be watched really closely because pressure builds and they could explode if a proper water level is not maintained.
Doce de leite (dulce de leche) has a milk base, where caramel is mainly made from sugar. Some versions of caramel do contain a small amount of cream, but milk is the main ingredient in doce de leite.
Variations in color and texture can depend on lighting, cooking method, and how long it’s cooked for. As it cools, the texture can change as well.
Equipment
Each method has its own unique set of tools. I’ve listed my recommendations below.
- Classic method – large, heavy-bottomed pot (I use an enamel dutch oven) and a silicone spatula.
- Water bath method – roasting pan for the water bath, glass baking dish, foil
- Quick method – medium saucepan – non-stick works best. In the photos I use a non-stick frying pan. I recommend a pan with deeper sides so the mixture doesn’t boil over.
- A jar with a lid for storing leftovers.
Storage
Doce de leite lasts in the refrigerator for up to 2 weeks. Store it in a jar with a lid.
Reheat in the microwave or by placing the jar in boiling water. Doing this will also soften it if it hardens.
Top tip
- Read through the recipe first and make sure to gather and measure the ingredients before starting. Some steps are quick and you want to make sure you have everything you need close by.
- For a darker color, just cook it longer. Watch carefully to make sure it doesn’t burn.
Other recipes you’ll love
- Churros with Dulce de Leche
- Pudim de Doce de Leite (Dulce de leche flan)
- Pudim de Leite – Traditional Flan Recipe
- Mini Donuts – Cape Verdean Donetes
- Cinnamon Rolls Soaked in Tres Leches

Doce de Leite Caseiro (Homemade Dulce de leche)
Ingredients
Classic method
- 4 cups milk
- 1 cup sugar
- 2 teaspoons vanilla extract
- ¼ teaspoon baking soda
Water bath method
- 1 can sweetened condensed milk
Quick method
- ½ cup sugar
- 14 ounce can of sweetened condensed milk
- 1 teaspoon vanilla extract
Instructions
Classic method
- Stir milk, sugar and baking soda together in a large, heavy-bottomed pan.
- Bring the mixture to a gentle boil and then reduce heat and let simmer for 2 hours. Stir occasionally, but watch closely. The liquid will thicken and reduce in volume.
- As the mixture starts to brown and become thicker, you'll have to stir more frequently to prevent it from burning/sticking to the bottom of the pan.
- Once the doce de leite has reached the color and consistency that you like, stir in the vanilla extract and turn the burner off.
- Let it cool slightly and transfer to a jar with a lid. The doce de leite can be served immediately. It will continue to thicken as it cools.
Water bath method
- Uncover the dish and whisk the doce de leite until it's smooth.
- Preheat the oven to 450°F.
- Open the can of condensed milk and pour it into a shallow baking dish. Cover the baking dish with foil and place the dish in a large roasting pan.
- Fill the roasting pan with boiling water until it reaches half-way up the side of the baking dish. Bake in the oven for 1 hour and 45 mins.
- Let the roasting pan cool slightly and then remove the baking dish from the water bath
Quick method
- Heat ½ cup sugar over medium heat in a non-stick frying pan or 2-quart saucepan. Stir constantly using a rubber spatula. Within a few minutes the sugar will start to liquify and turn amber in color. Keep stirring until the sugar fully dissolves into a brown-colored syrup.
- Turn the flame down to the lowest setting and add the butter and baking soda at the same time. Then add sweetened condensed milk and keep stirring. The caramelized sugar will start to harden, keep stirring and the mixture will become smooth again after 5-7 minutes.
- Once the mixture is completely smooth, carefully transfer it to a small bowl or jar with lid. Serve while it's still warm.
Notes
- Read through the recipe first and make sure to gather and measure the ingredients before starting. Some steps are quick and you want to make sure you have everything you need close by.
- Doce de leite lasts in the refrigerator for up to 2 weeks. Store it in a jar with a lid.
- Reheat the doce de leite in the microwave or by placing the jar in boiling water. Doing this will also soften the doce de leite if it hardens.
- For darker doce de leite, cook it longer. Just be careful not to burn it.
Nutrition
Food safety
Here are some general safety tips.
- Don’t leave the doce leite sitting out at room temperature for extended periods. Store it in the fridge once it cools fully.
- Never leave the doce de leite cooking unattended.
- Do not attempt to taste or touch the doce de leite while it’s hot.
- Always have good ventilation when using a gas stove
See more guidelines at USDA.gov.
Hannah says
Hi! The quick method ingredient list does not include baking soda or butter but the instructions do. What are the amounts for those?